So, for whatever reason, all the photos I took of the process were completely unusable. So were the shots I took of the final cookies, but once I realized I was at least able to re-shoot those. Unfortunately, no in-process shots of this one but at least it’s a super-simple recipe!
Ingredients
Cookies
- 1 ¼ cup almond flour
- ¼ cup dark cocoa powder
- Pinch of salt
- 3 T powdered sugar
- 2 T butter, brought to room temperature
- 1 T maple syrup
- 1 t vanilla
- ½ t peppermint extract
Coating
- 10 oz. dark chocolate melting disks
- 1 T butter
- ¼ t peppermint extract
Directions
Like I said above, these are pretty (ok, very) easy.Throw all of the cookie ingredients (almond floor, cocoa powder, salt, powdered sugar, butter, maple syrup, vanilla and peppermint extract) into a medium/large bowl and mix until well combined. You have now made your cookie dough.
Cover the bowl with plastic wrap and chill in the fridge for about a half hour and take that time to clean up whatever mess you’ve made.
Once the dough is firm, take it out and roll it to about ¼ inch thick. Don’t stress about making it exact, just get it “ish”.
Get a cookie cutter and cut out your cookies. Move them to a baking sheet lined with parchment paper. These cookies won’t spread so you can put them right next to each other on the sheet.
Ball up the remaining dough. If your cookie sheets are full, throw the remaining dough back in the fridge until you’re ready for it. Once you’re ready with another sheet roll out the remaining dough and cut out more cookies. Keep this up until you ain’t got no dough left.
If you’re having trouble with the dough sticking to the rolling pin or not lifting off the surface, put the dough back into the fridge for a few minutes. The firmer the dough, the easier it will be to work with (and it won’t ever get so firm that it’s tough to roll out)
Bake the cookies at 350 for about 10 minutes, or until they are crispy along the edges. Remove them from the oven, let them sit on the baking sheet to harden for a couple minutes and then transfer them to a wire rack to cool completely.
Now it’s time for the coating!
Put the melting disks and butter into a microwave-safe bowl and melt them together. Basically, heat them for 15 seconds then take the bowl out and stir. Keep doing this until the disks are almost but not quite completely melted.
When you get to this point, take the bowl out of the microwave and keep stirring until the last bit of the disks is melted. Add in your peppermint extract and stir that in so that its well distributed.
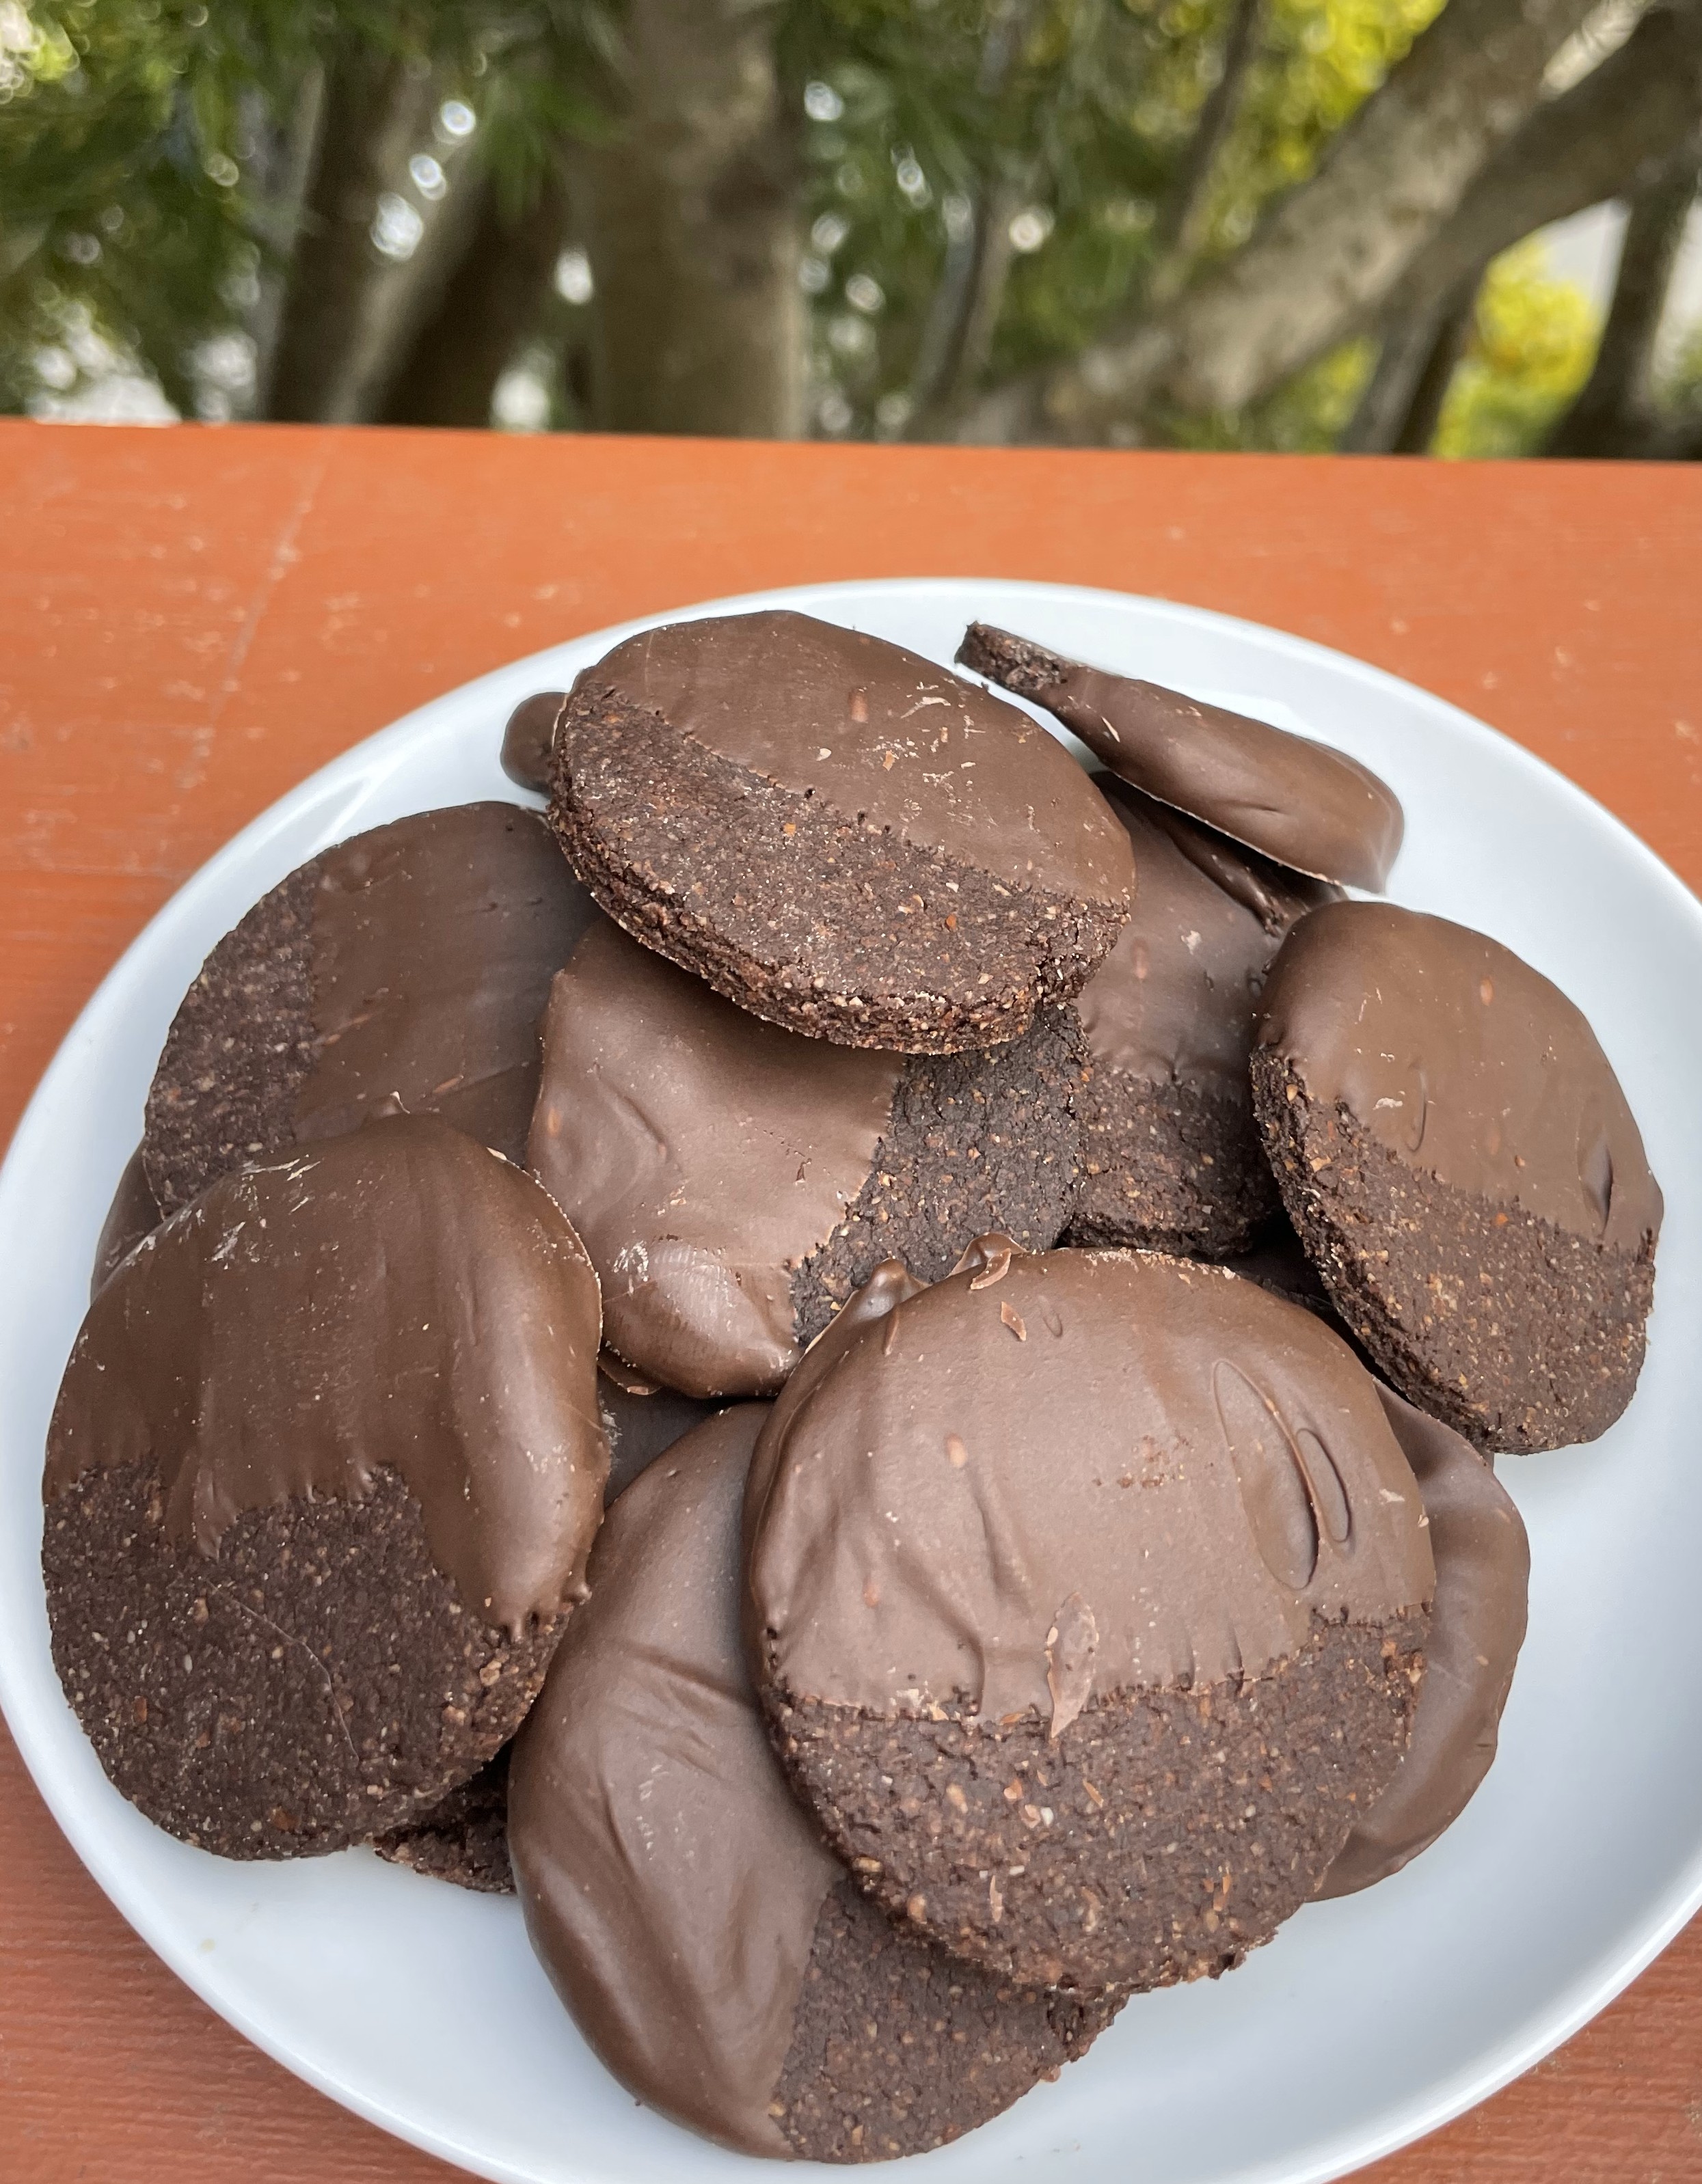
Get your cool cookies and dip them into the coating. You can do this a couple ways – you can submerge them completely, which is more difficult (but absolutely do-able!), or you can dip them in by hand and cover about ½ – 2/3 of each cookie. This is quick and easy to do, and for me I think they look a little cooler (and definitely neater) this way so that’s how I did it.
Transfer your dipped cookies to cookie sheets lined with wax paper and put the sheets in the fridge to cool completely. That’s it!
The size of your cookie cutter will determine how many cookies this recipe makes. I used a 1” circle and it made about 35 cookies.