This is my attempt at remedying that.
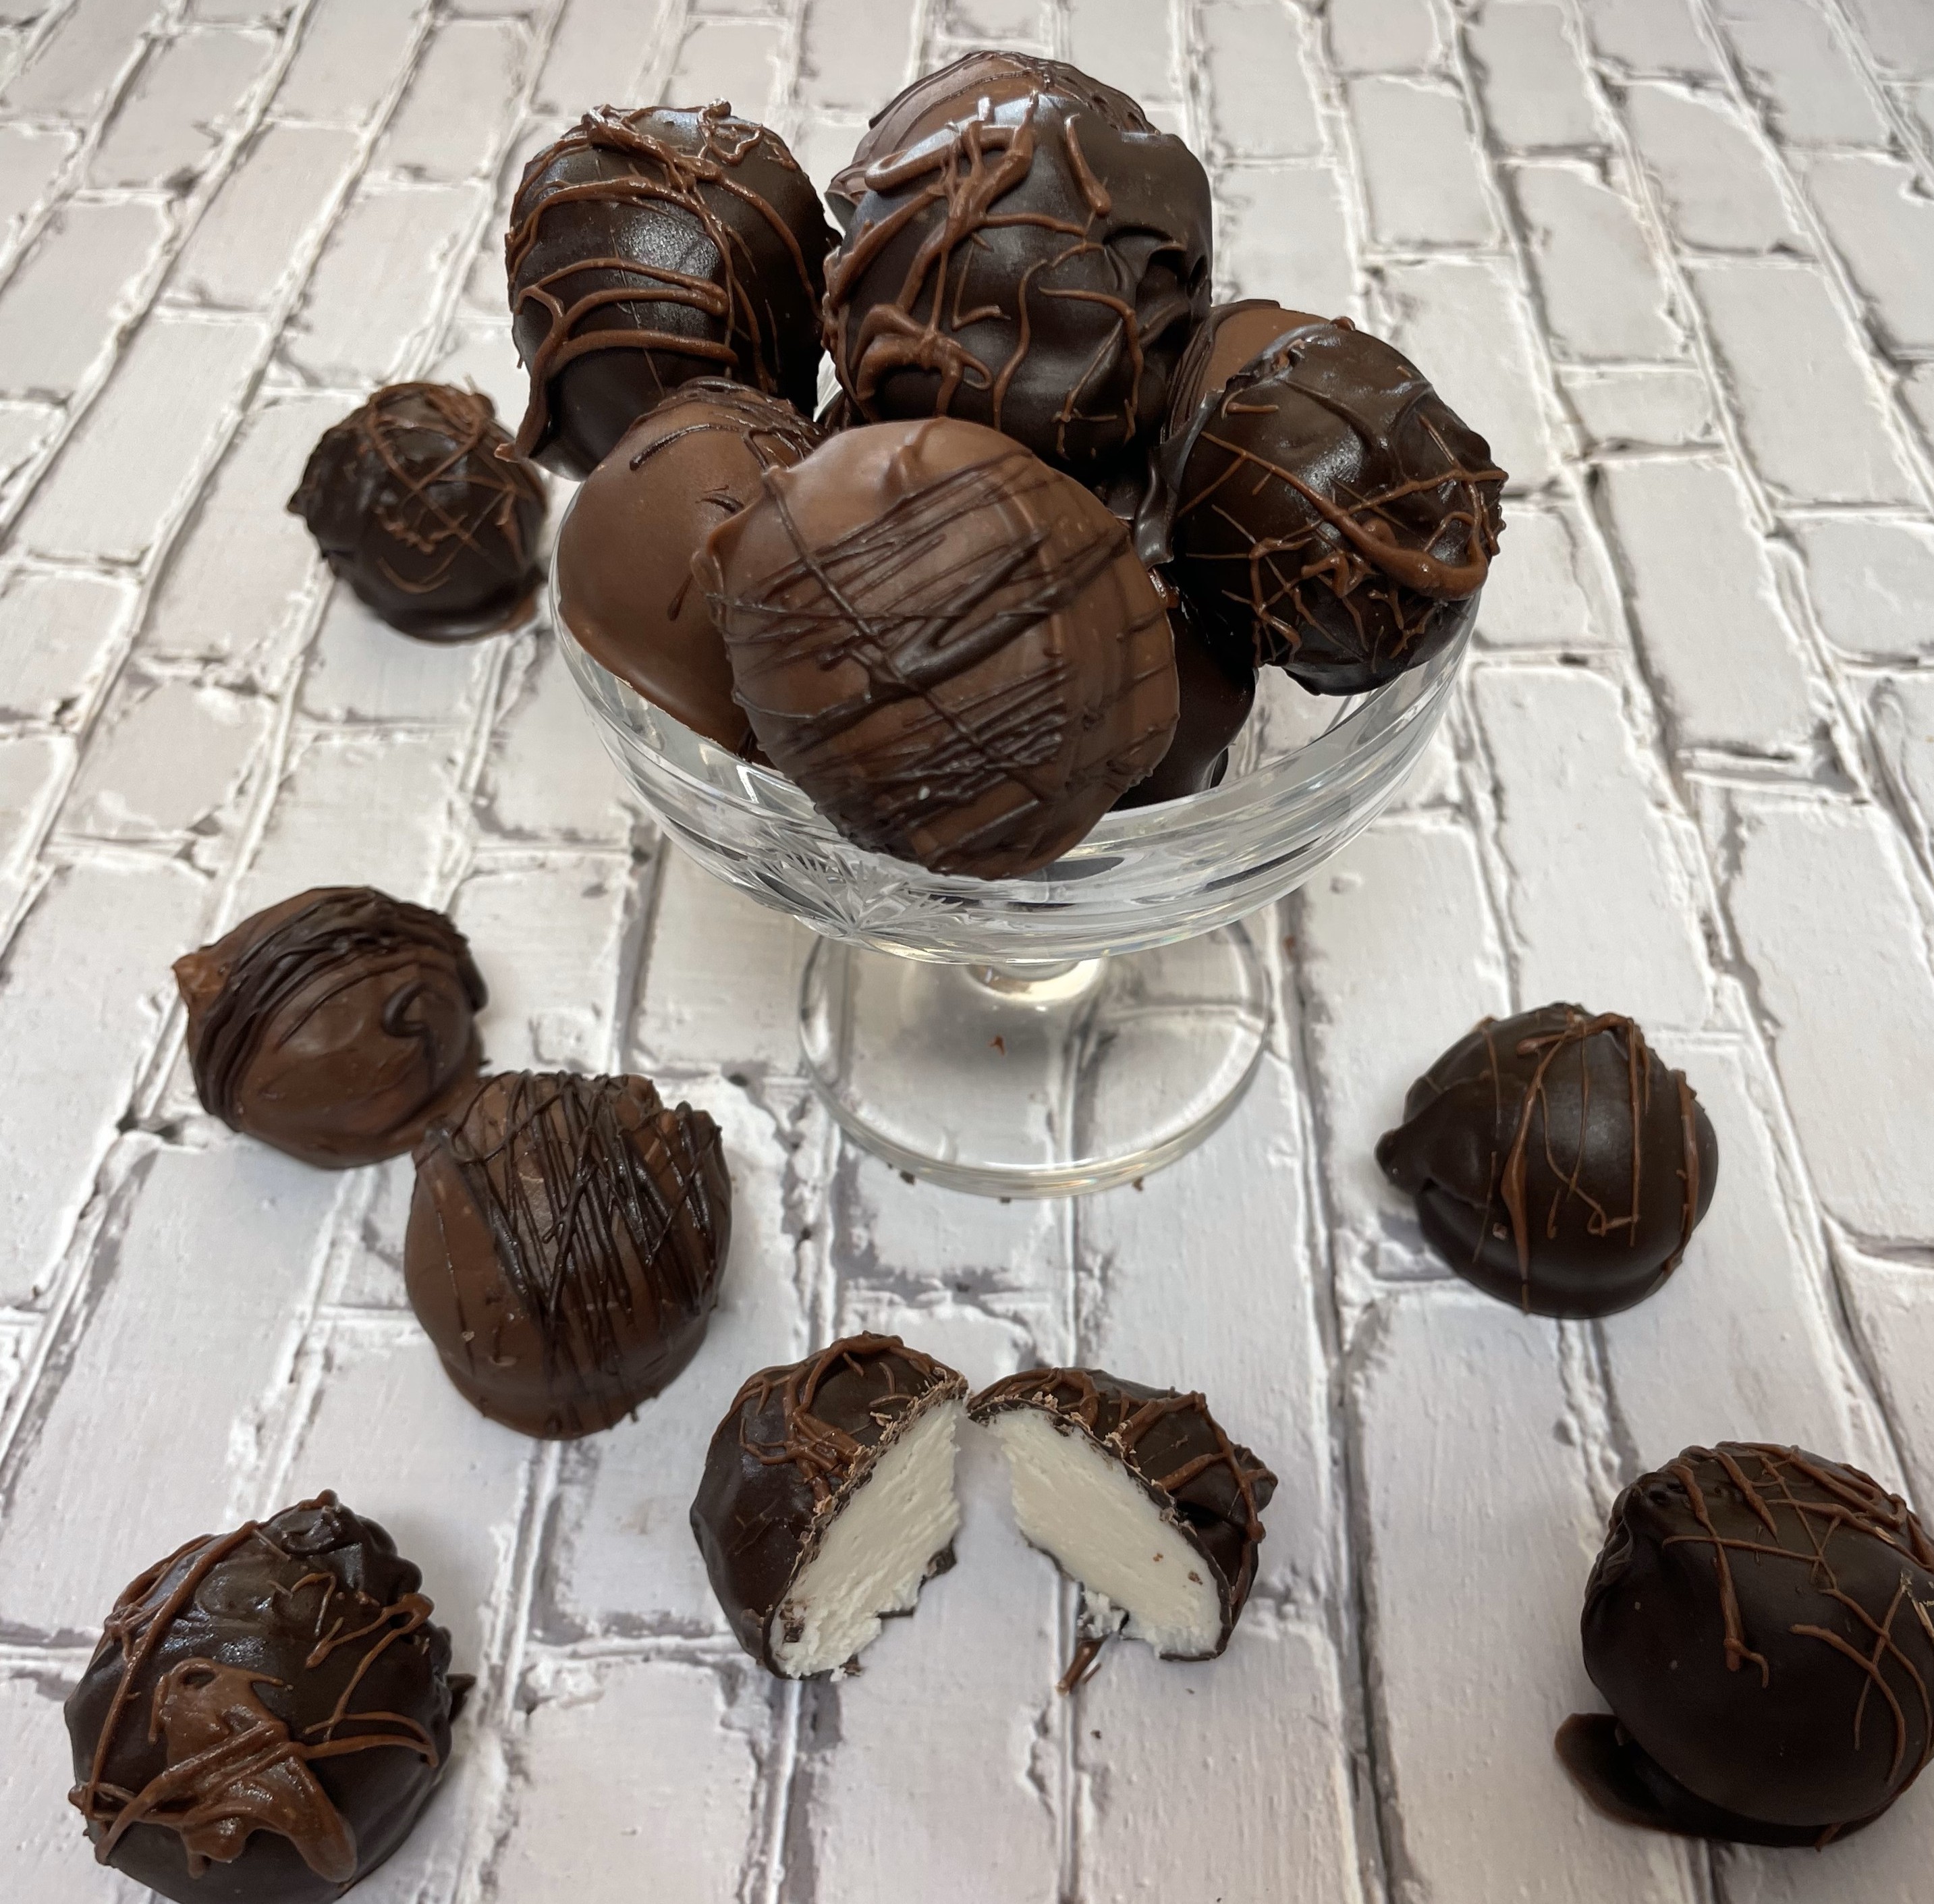
You can see in the directions that I coated half with milk chocolate and half with dark chocolate cuz I’m fancy that way. You can do either or both, or even use white chocolate if you’re so inclined (though the contrast between the center and the coating won’t be nearly as strong).
Ingredients
- 4 oz. cream cheese, brought to room temperature
- ¼ cup butter, brought to room temperature
- 1 t vanilla
- 4 cups powdered sugar
- 10 oz dark chocolate*
- 10 oz milk chocolate*
- As I mentioned above, you can use any kind of chocolate you want and you don’t have to split it like this. I just did because some people prefer dark and other people prefer milk. I also set a little aside and drizzled it along the tops because, once again, I’m fancy like that.
Directions
These are pretty easy to make, they just take a little time because you have to let things set in the fridge.Start by putting your cream cheese, butter and vanilla into a large bowl and mixing them together until they’re smooth.
Slowly add in the powdered sugar (definitely slowly or you’ll be covered with it!) and continue to mix until everything is well combined and smooth.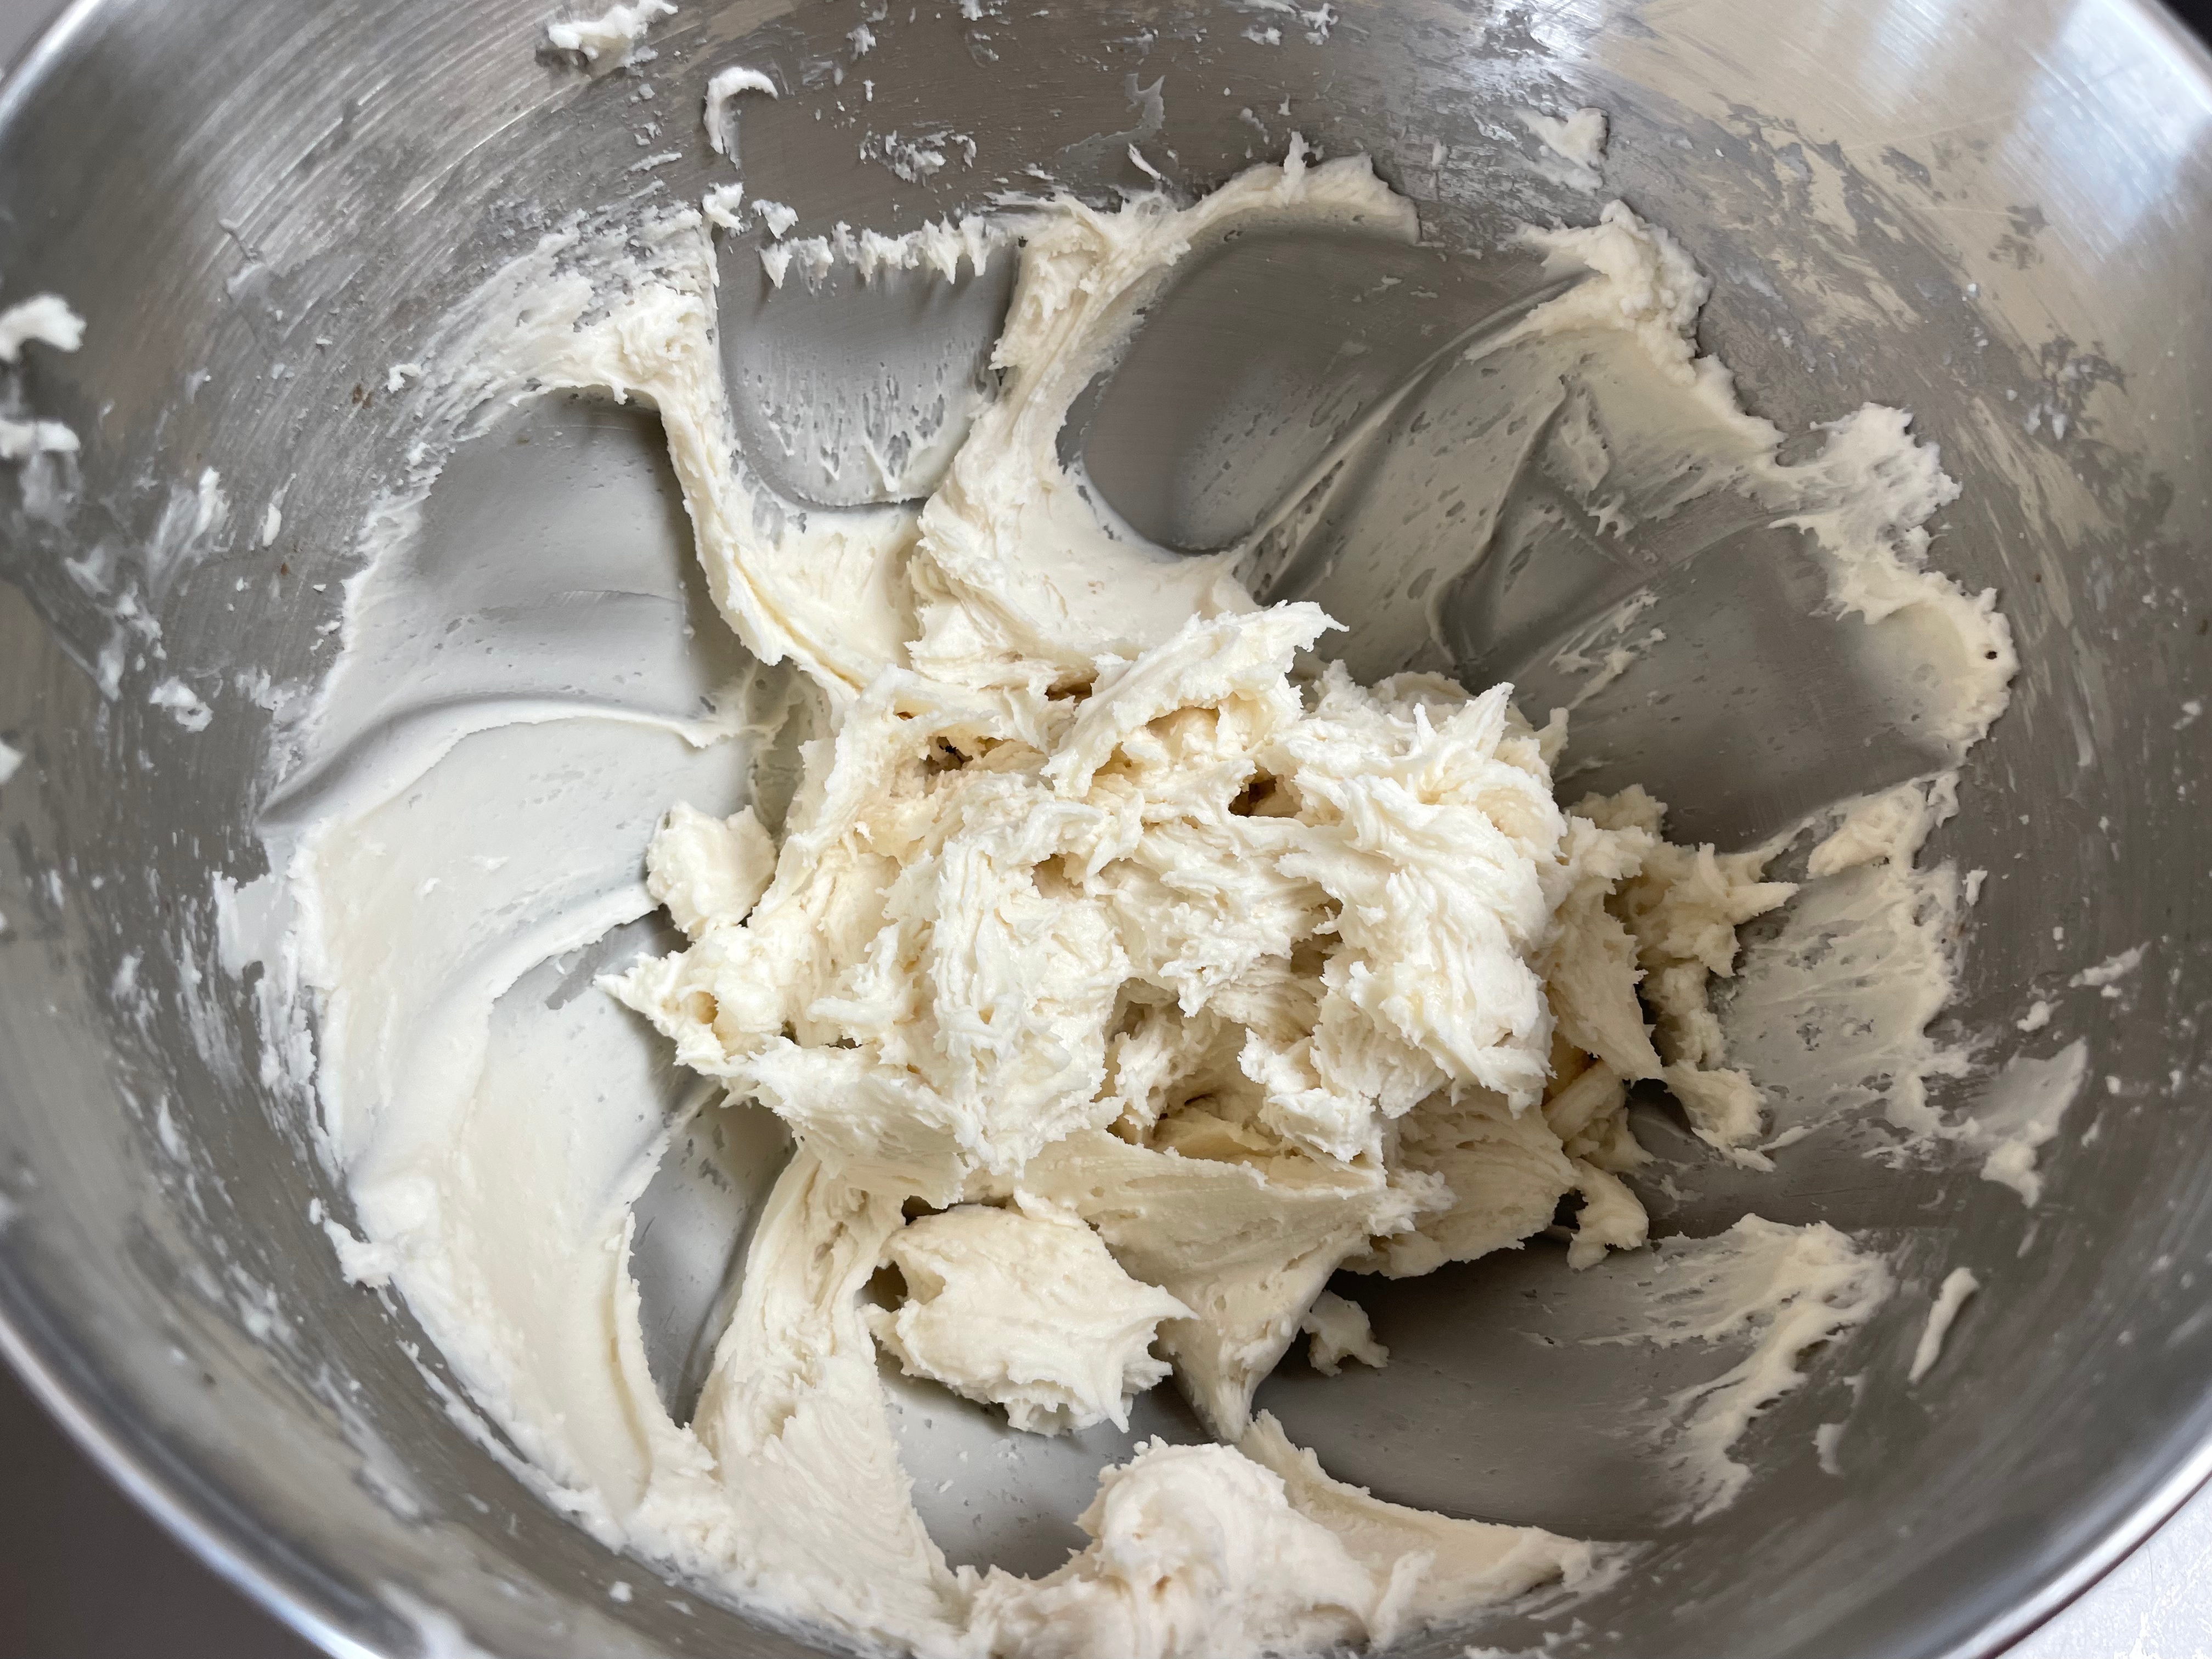
When it’s done, loosely cover it with aluminum foil and put it in the fridge to set. This will take a couple hours, but you can also let it set overnight if that’s easier.
When you’re ready to start making the candies, line a baking sheet with parchment or wax paper. Take the bowl out of the fridge and start rolling the filling into balls. Remember, however large you make the balls, that’s how big your candy is going to be, so keep that in mind! You don’t want them to be too too big.
Move quickly! The filling will start to warm up and when it does it will start to stick to your hands and get messy. If this happens, you can put the bowl back in the fridge for a bit to cool back down. You can also dust your hands with powdered sugar, which should make the filling easier to handle.
Place each ball on the baking sheet and return the sheet to the fridge for at least a couple hours, for the filling to set again.
When you’re ready to cover in chocolate, melt your chocolate in a bowl and dip each ball into the chocolate, covering it completely. Move the balls back to the baking sheet and when you’re done put the baking sheet back into the fridge to let the chocolate set.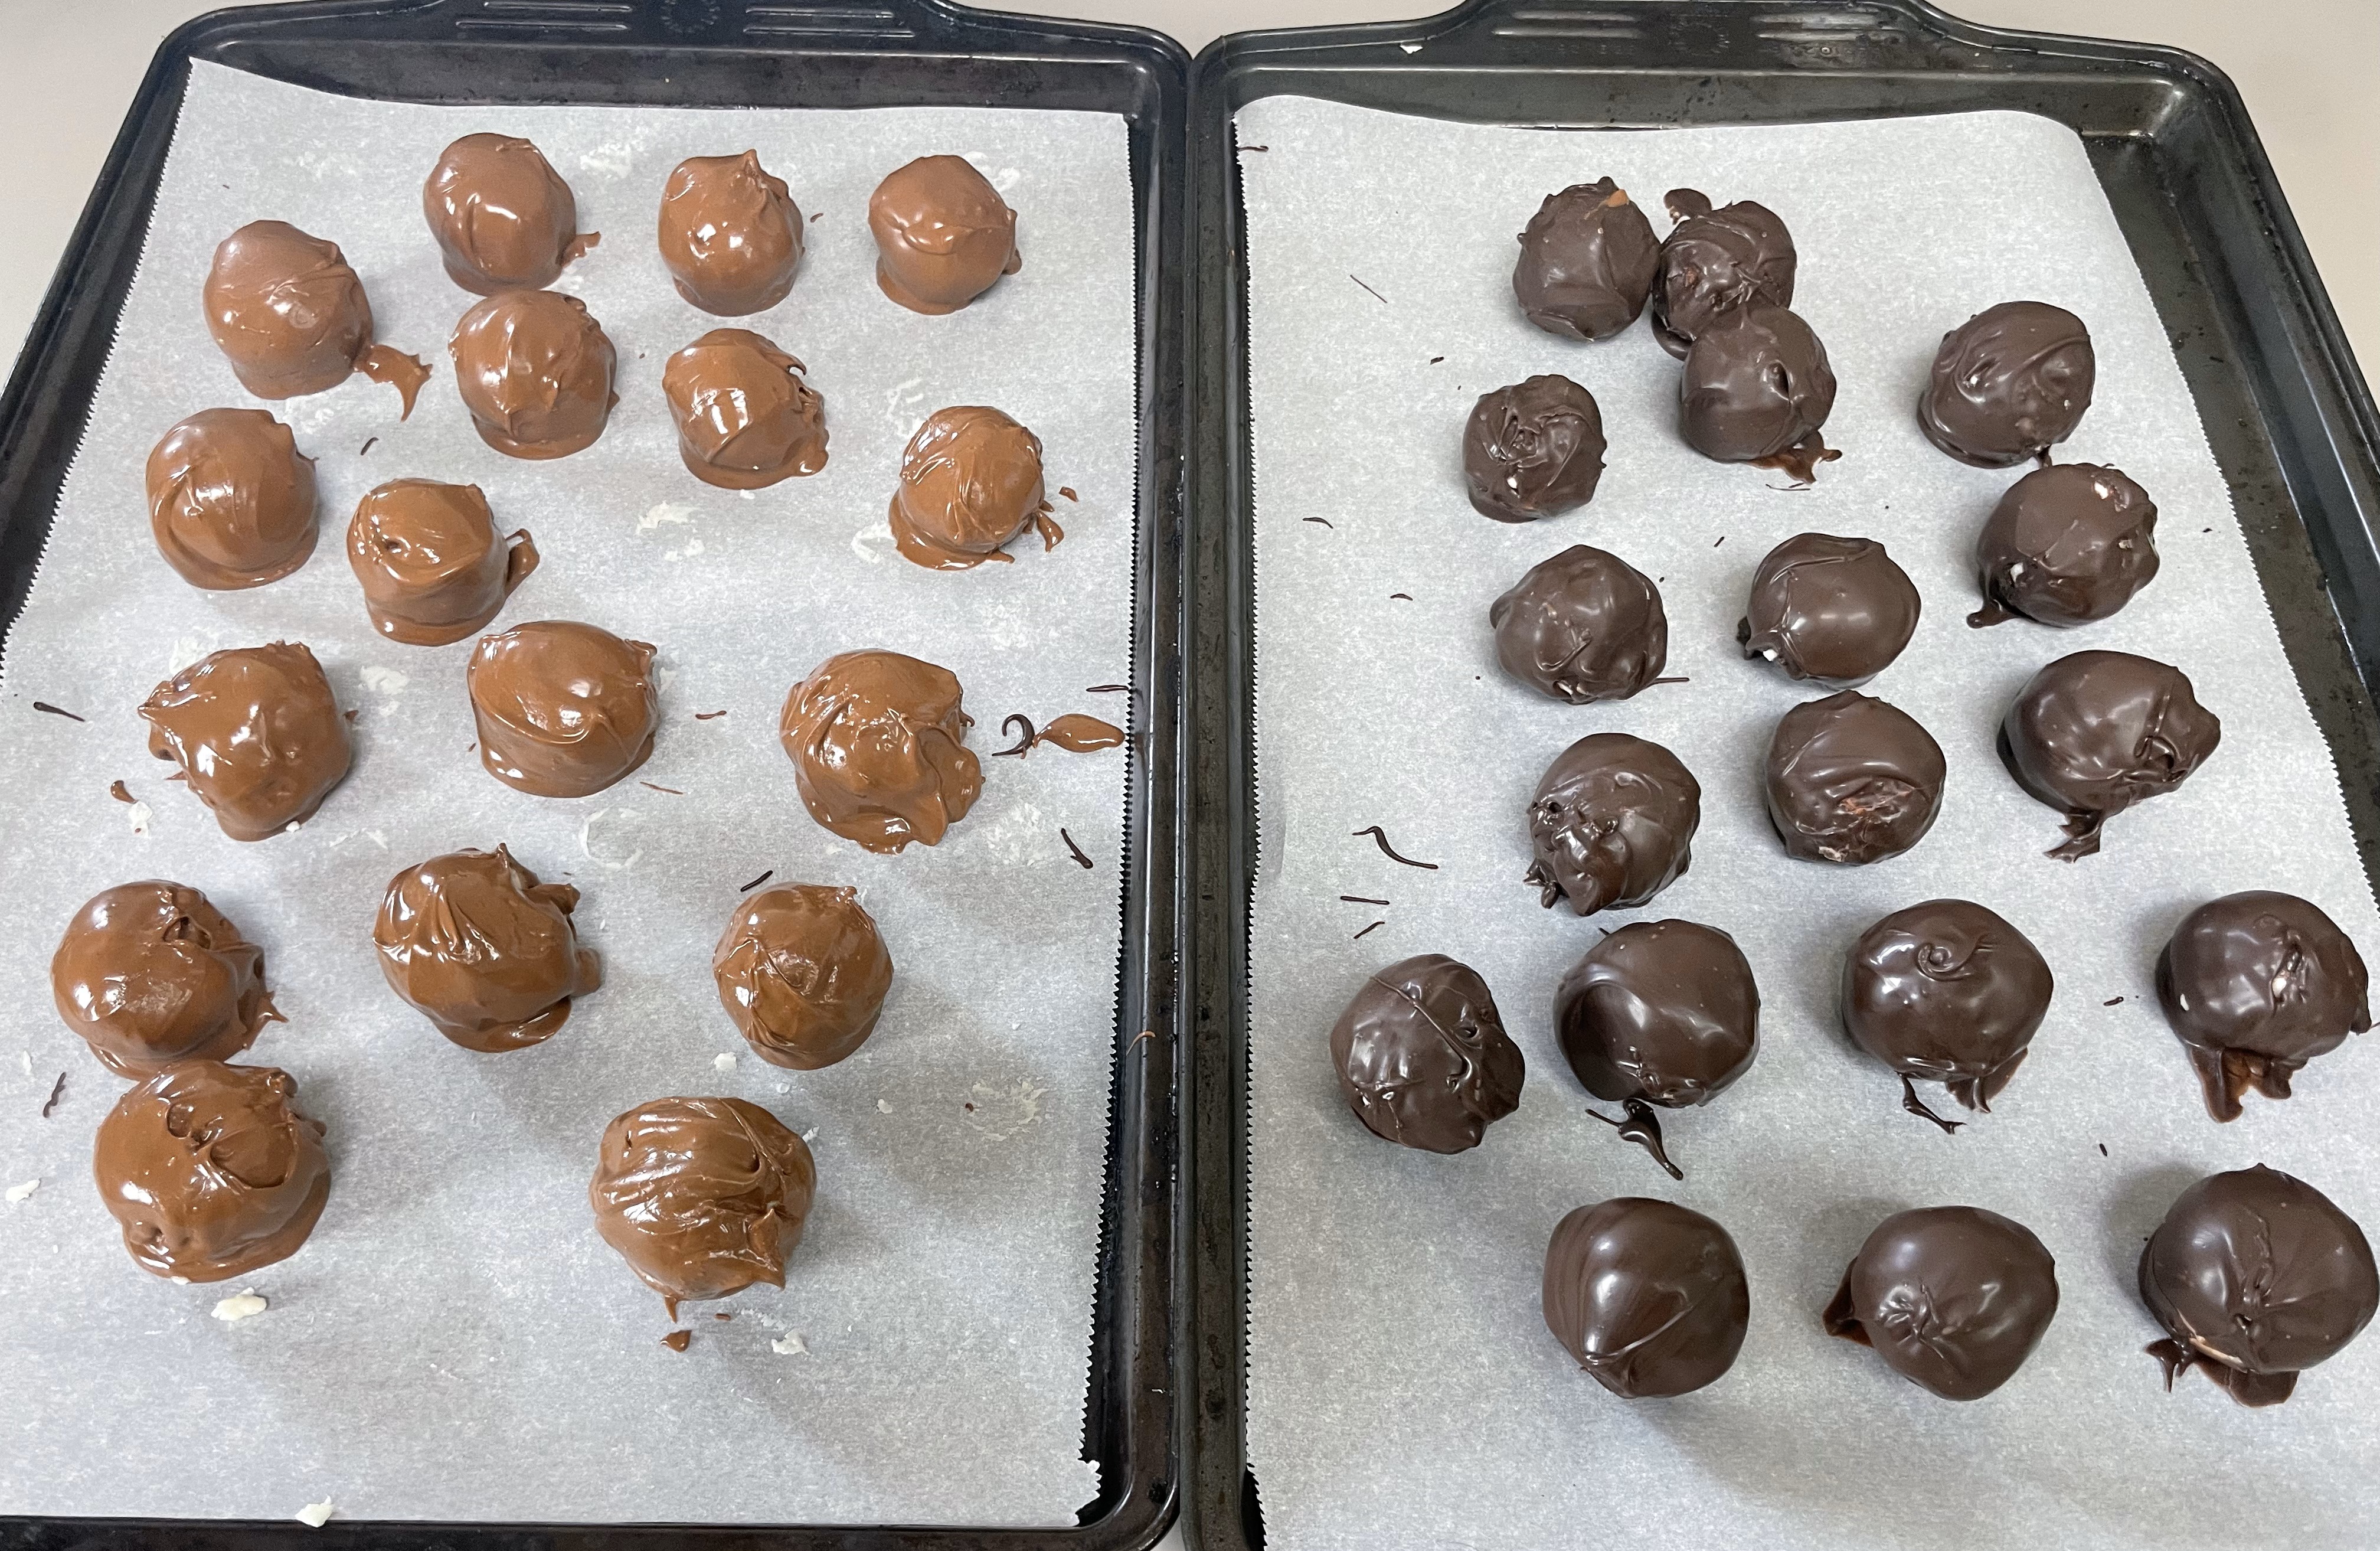
Like I said, these are pretty easy but they do take a bit of time.
Since I covered mine in two different chocolates, I split the balls into two groups. When I covered one, I left the other in the fridge to stay cool. I lined a second baking sheet with parchment paper (or you can use wax) and moved the first set to this new sheet.
Basically, I ended with one sheet of dark chocolate candies, and one sheet of milk chocolate ones.
I planned to give some of these as gifts and wanted to make them look kinda fancy so after the chocolates had hardened, I melted a little more of the chocolates. For the dark chocolate candies, I drizzled a little milk chocolate over the top, and for the milk chocolate ones I drizzled a bit of the dark chocolate.
I think it makes for a nice contrast, and I also think it makes them look fancier than they actually are!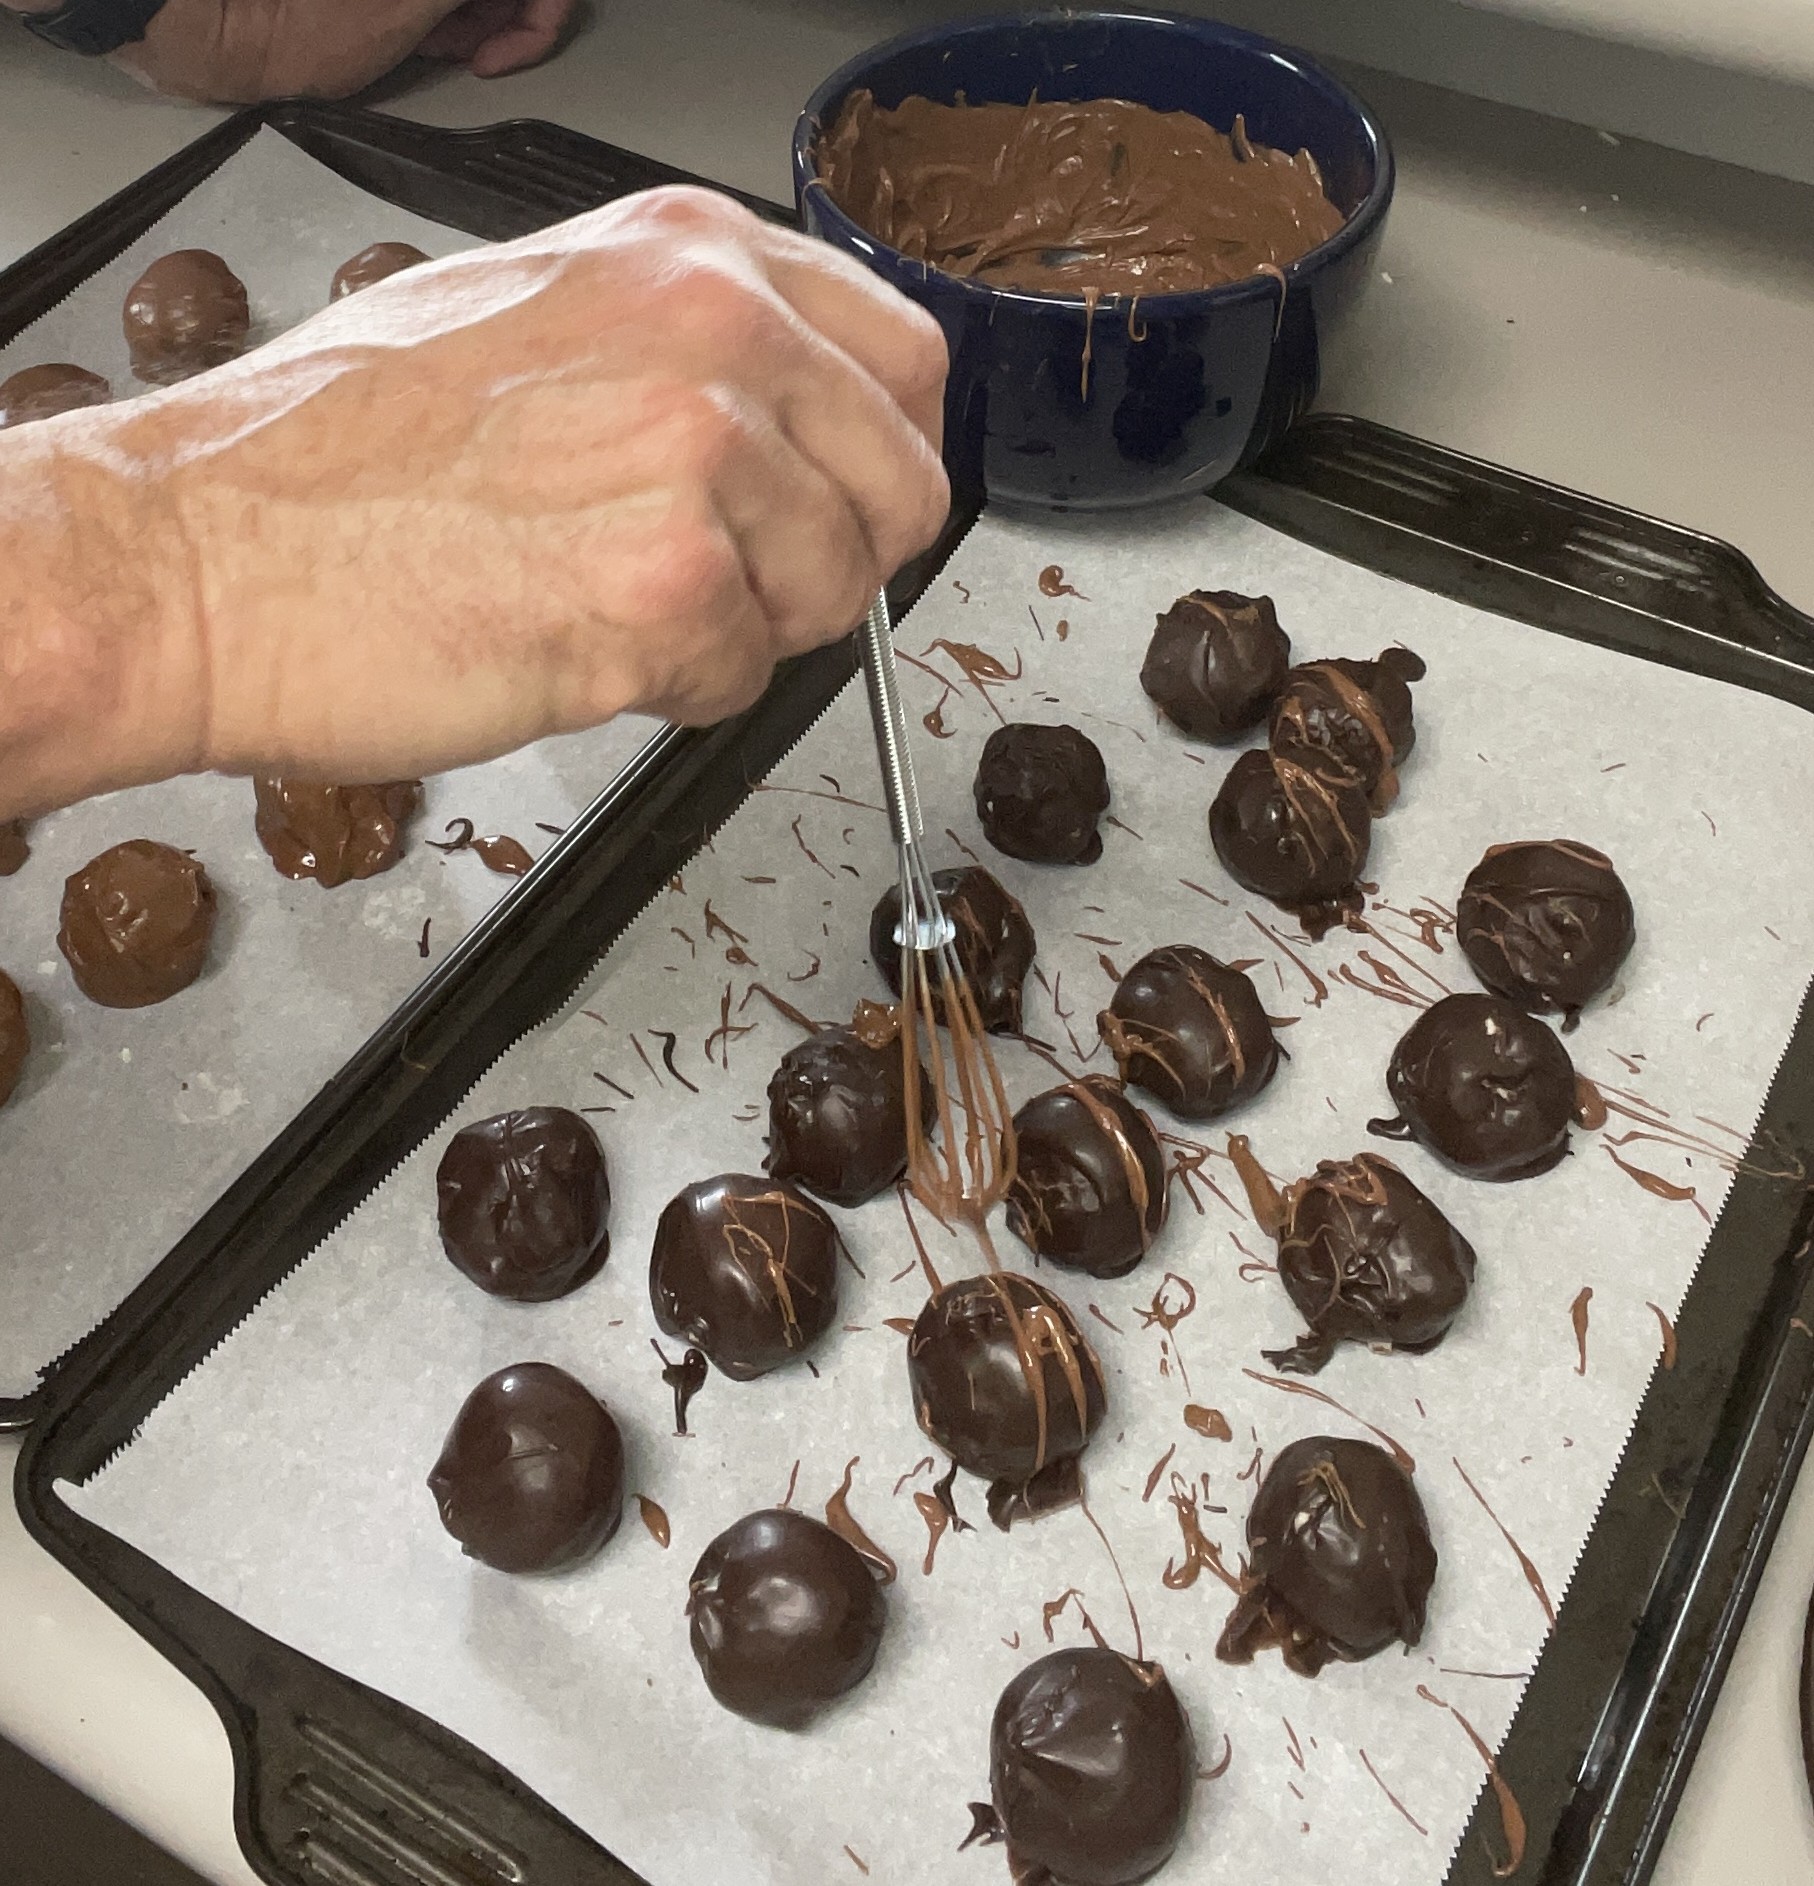

This will make about 3 dozen vanilla buttercreams.