Most of my cookies are soft and chewy, many of them with a heavy icing or filling. These have none of that. They’re crispy and, actually, kinda refreshing. They’re a nice change and complement a holiday party really well.
But, if you want, make them in May, July, whenever. Christmas ain’t got no stranglehold on peppermint.
Ingredients
- Not required, but kinda helps let people know these are gonna be peppermint-y
· 3 egg whites
· ¼ t salt
· ¼ t cream of tartar
· ¾ cup sugar (Superfine is better for these – and that is not powdered sugar. If you don’t have superfine (or “caster” sugar, that’s fine – I’ll show you how to make it below)
· ½ t peppermint extract
· Red food coloring *
Directions
If you don’t have superfine sugar we’ll start there. I don’t because you don’t really need it that often and I’m not even sure my grocery store carries it. No worries – we can fix that.Take ¾ cup of regular, granulated sugar and put it into a food processor. Then, add a few more tablespoons because we’re going to be breaking the sugar down a bit and that will lessen the total volume.
Food process the crap out of that sugar for about two minutes and, viola! You have caster sugar. You are, in fact, a master caster.


Anyway, on to the recipe.
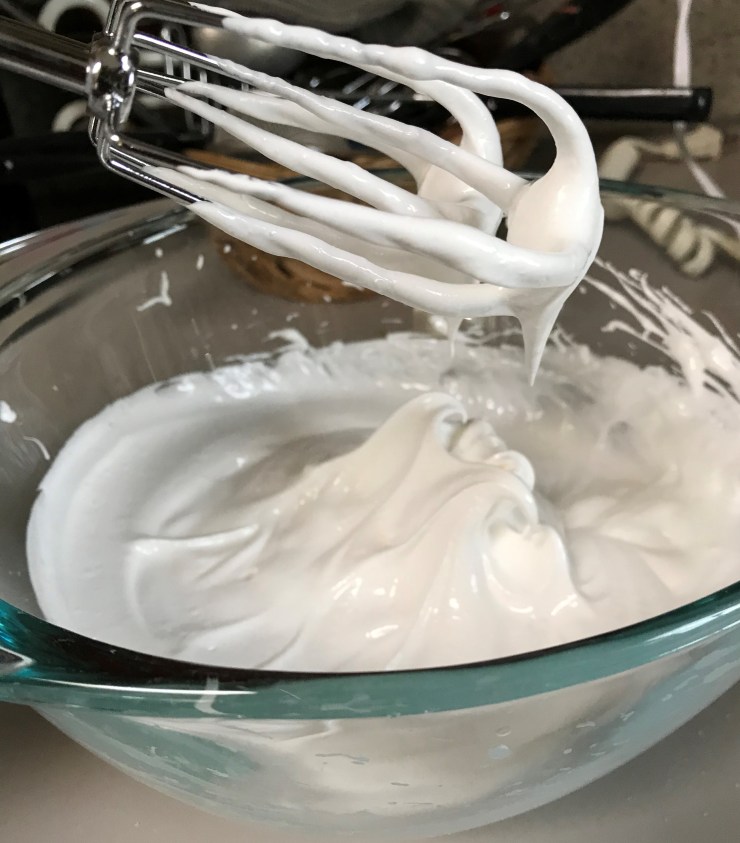
In a bowl, add the egg whites, salt and cream of tartar. Beat with your hand mixer on medium for about 3 minutes, until the mixture is foamy.
Turn the mixer to high and slowly add in the superfine sugar and keep beating until stiff peaks form. Add the peppermint extract, and beat some more, just until the peppermint is blended well into the mixture.
Now, for the coloring. There are a couple ways you can do this:
· Just add in the food coloring to the mixture. This will get you overall pink cookies, and they’re kind of cool. This is the simplest way to do it. For this, you can use liquid or gel food coloring, it doesn’t matter.
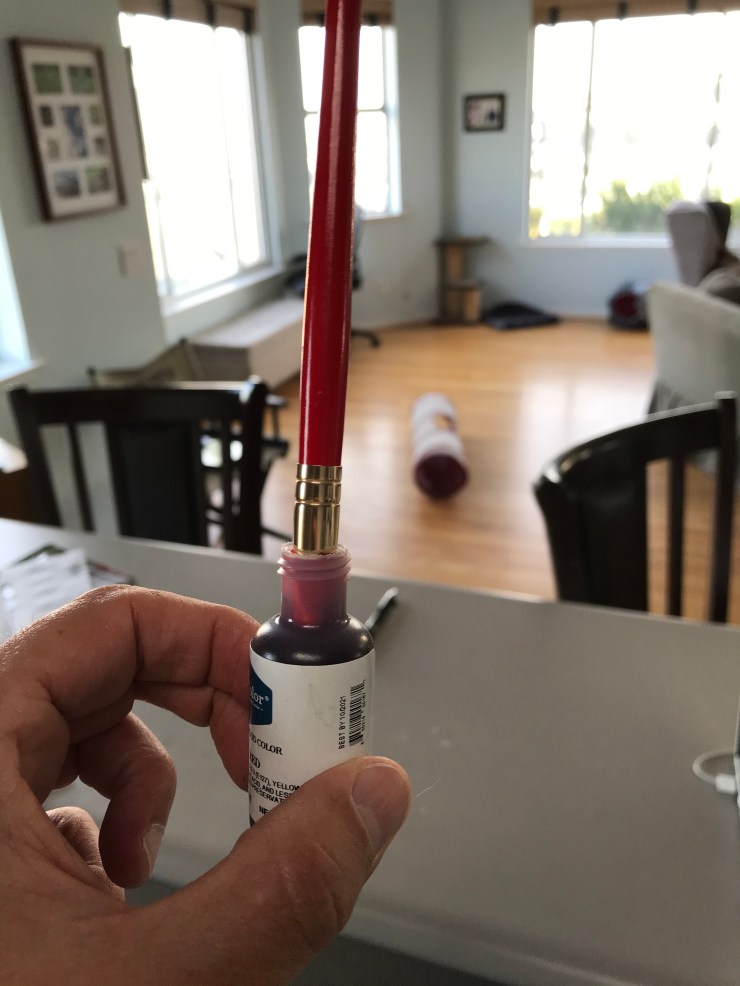
· If you want to be fancy, and I actually did this for these – use the gel kind of food coloring. Put a pastry bag outfitted with a large tip into a pint glass. Take a small paintbrush (preferably one that you have NOT used to paint with), and paint stripes on the inside of the pastry bag, with gaps in between the stripes. This will give you red and white striped cookies, which look very cool and very fancy.

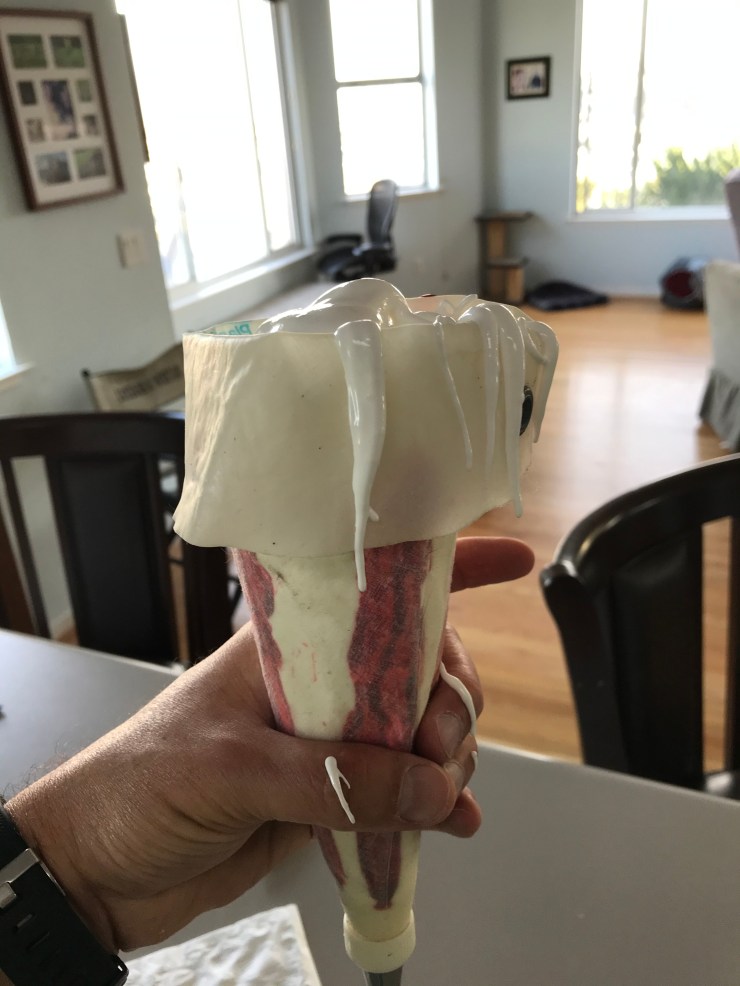
Fill the bag with your meringue batter. Try not to get too much of the food coloring mixed into the batter, but be aware that it’s inevitable – it’ll happen and don’t stress about it. Do your best.
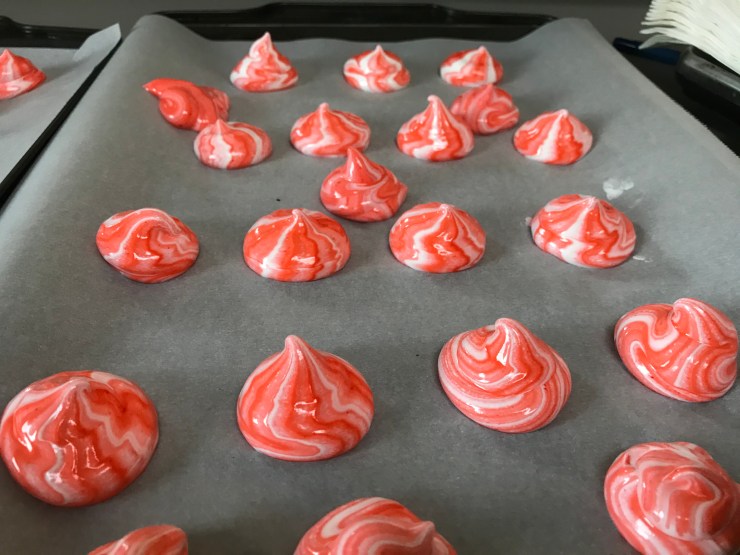
Pipe the batter onto cookie sheets lines with parchment paper and cook at 250 (yes, that’s not a typo – you’re more drying these out than “cooking” them).

 Leave them in the oven for an hour until they’re dry – they’ll be light and easy to pick up. After the hour, turn off the oven and leave the cookies in there for another couple hours until they completely dry.

After you’ve taken them out of the oven and they’ve cooled completely, be sure to store these in an airtight container. If you do that, they should last for at least a few weeks.

These are really pretty!
LikeLike