According to the interwebs (which as we all know are NEVER wrong), the original Twinkie filling flavor was banana. However, during World War II there was a banana shortage, so the filling was changed to vanilla and after the war, even though bananas were once again easy to find, Hostess decided to stick with vanilla.
I debated back and forth whether to try a banana or a vanilla filling, but I settled on vanilla so I could more easily compare it to Twinkies today.
Look, if there’s a Twinkie around I will probably grab it and eat it. But this recipe, while not tasting exactly like Twinkies, is really fresh and pretty darn delicious. Plus, I cheated by starting with a box cake mix because, well, sometimes it’s nice to go the easy route.
By the way, I never make just a cake from a box but I will absolutely use boxed cake mix (and bagged cookie mix) as an ingredient in a larger project. Why not??
Ingredients
- 1 box, yellow cake mix
- 1 cup water
- ½ cup vegetable oil
- 3 eggs, brought to room temperature
- 3 t vanilla, separated
- ¼ t cinnamon
- 1/8 t nutmeg
- 5 T flour
- ½ t baking soda
- 1 cup milk
- ½ cup shortening
- ½ cup butter, softened to room temperature
- 1 cup sugar
- ½ t salt
- Powdered sugar for dusting
Directions
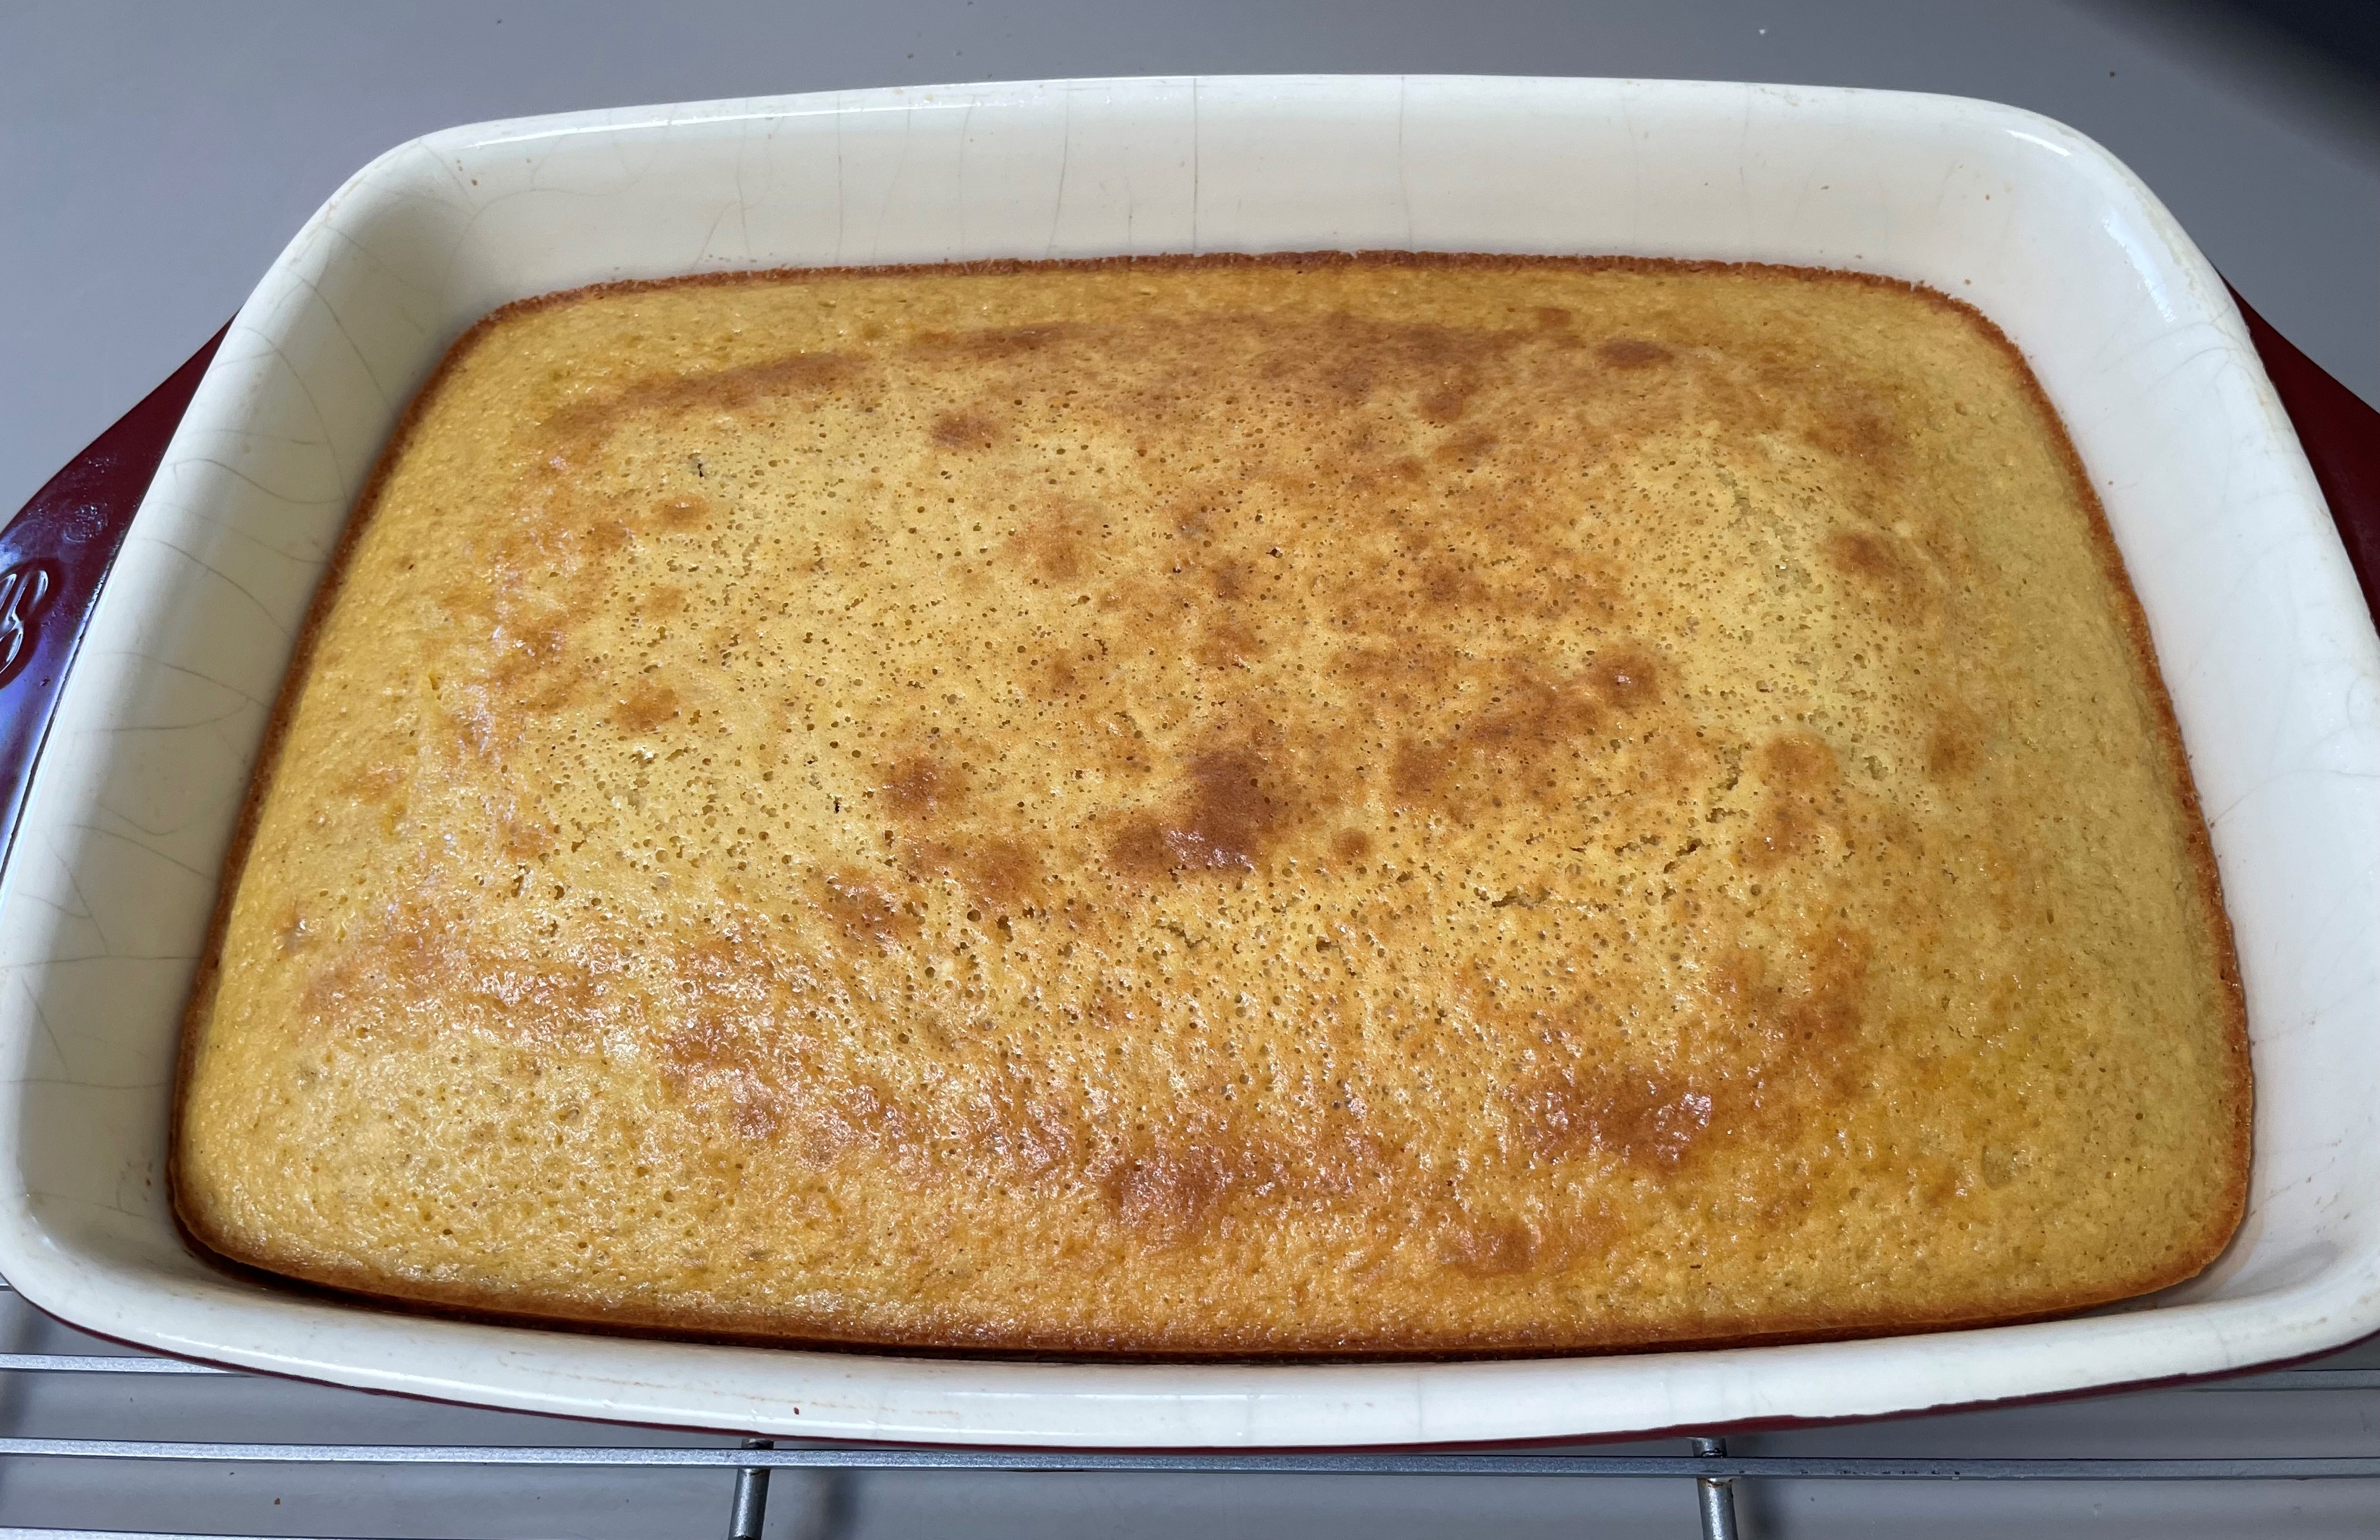
Butter and flour and a 13” x 9” baking pan and set that aside.In a large bowl, put the cake mix, water, vegetable oil, eggs, 1 t of the vanilla, the cinnamon and nutmeg. Mix until everything is well combined, at least a couple minutes. Pour the batter into your prepared baking pan and bake at 325 for about 30 minutes, or until a toothpick inserted in the middle comes out clean. Take it out of the oven and move it to a wire rack to cool completely.
While its cooling we can make everyone’s favorite part of a Twinkie…the filling! And for this, we’re going to use the stovetop.
Get a medium saucepan and put in the flour, baking soda and milk. Whisk together, then turn the stove on to medium and bring it to a boil, stirring throughout (we don’t want to burn the milk, so keep it moving). Once it hits boil, turn off the burner.
While that’s cooling a bit, get a large bowl and put in the shortening, butter, sugar, salt and the remaining 2 t vanilla and beat until creamy – probably just a couple minutes. Next, add in the flour mixture and beat again until everything is smooth.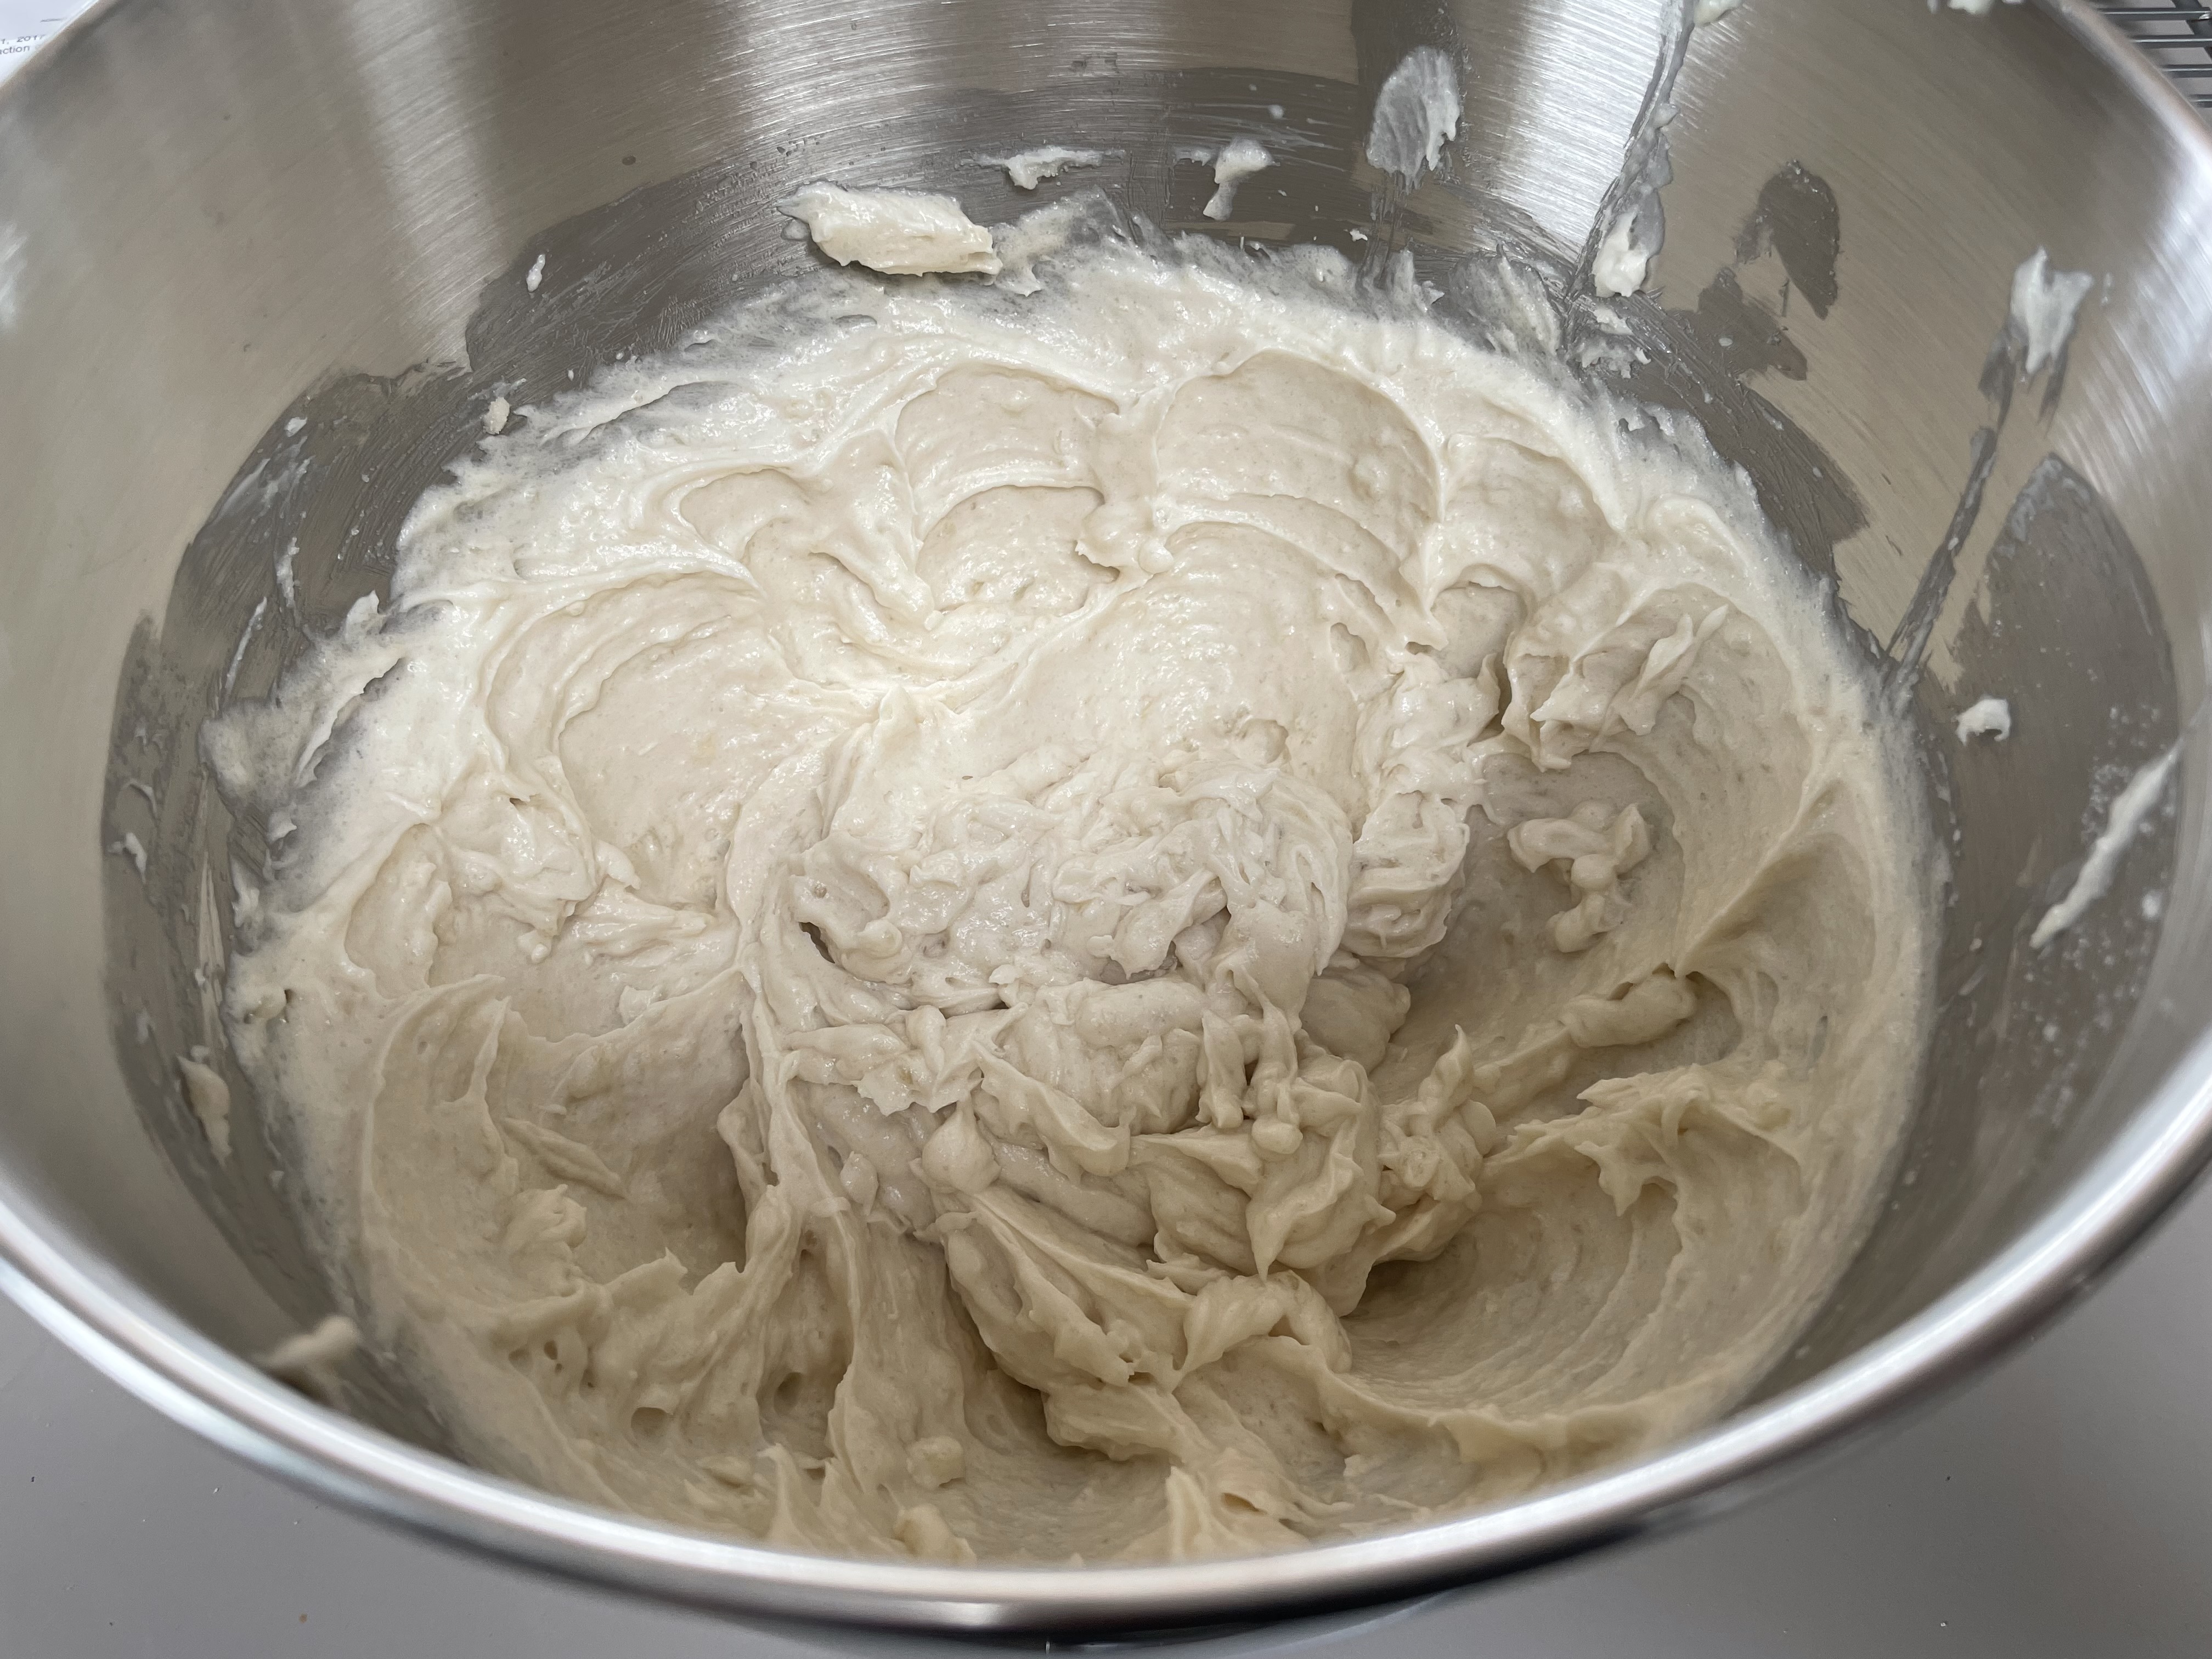
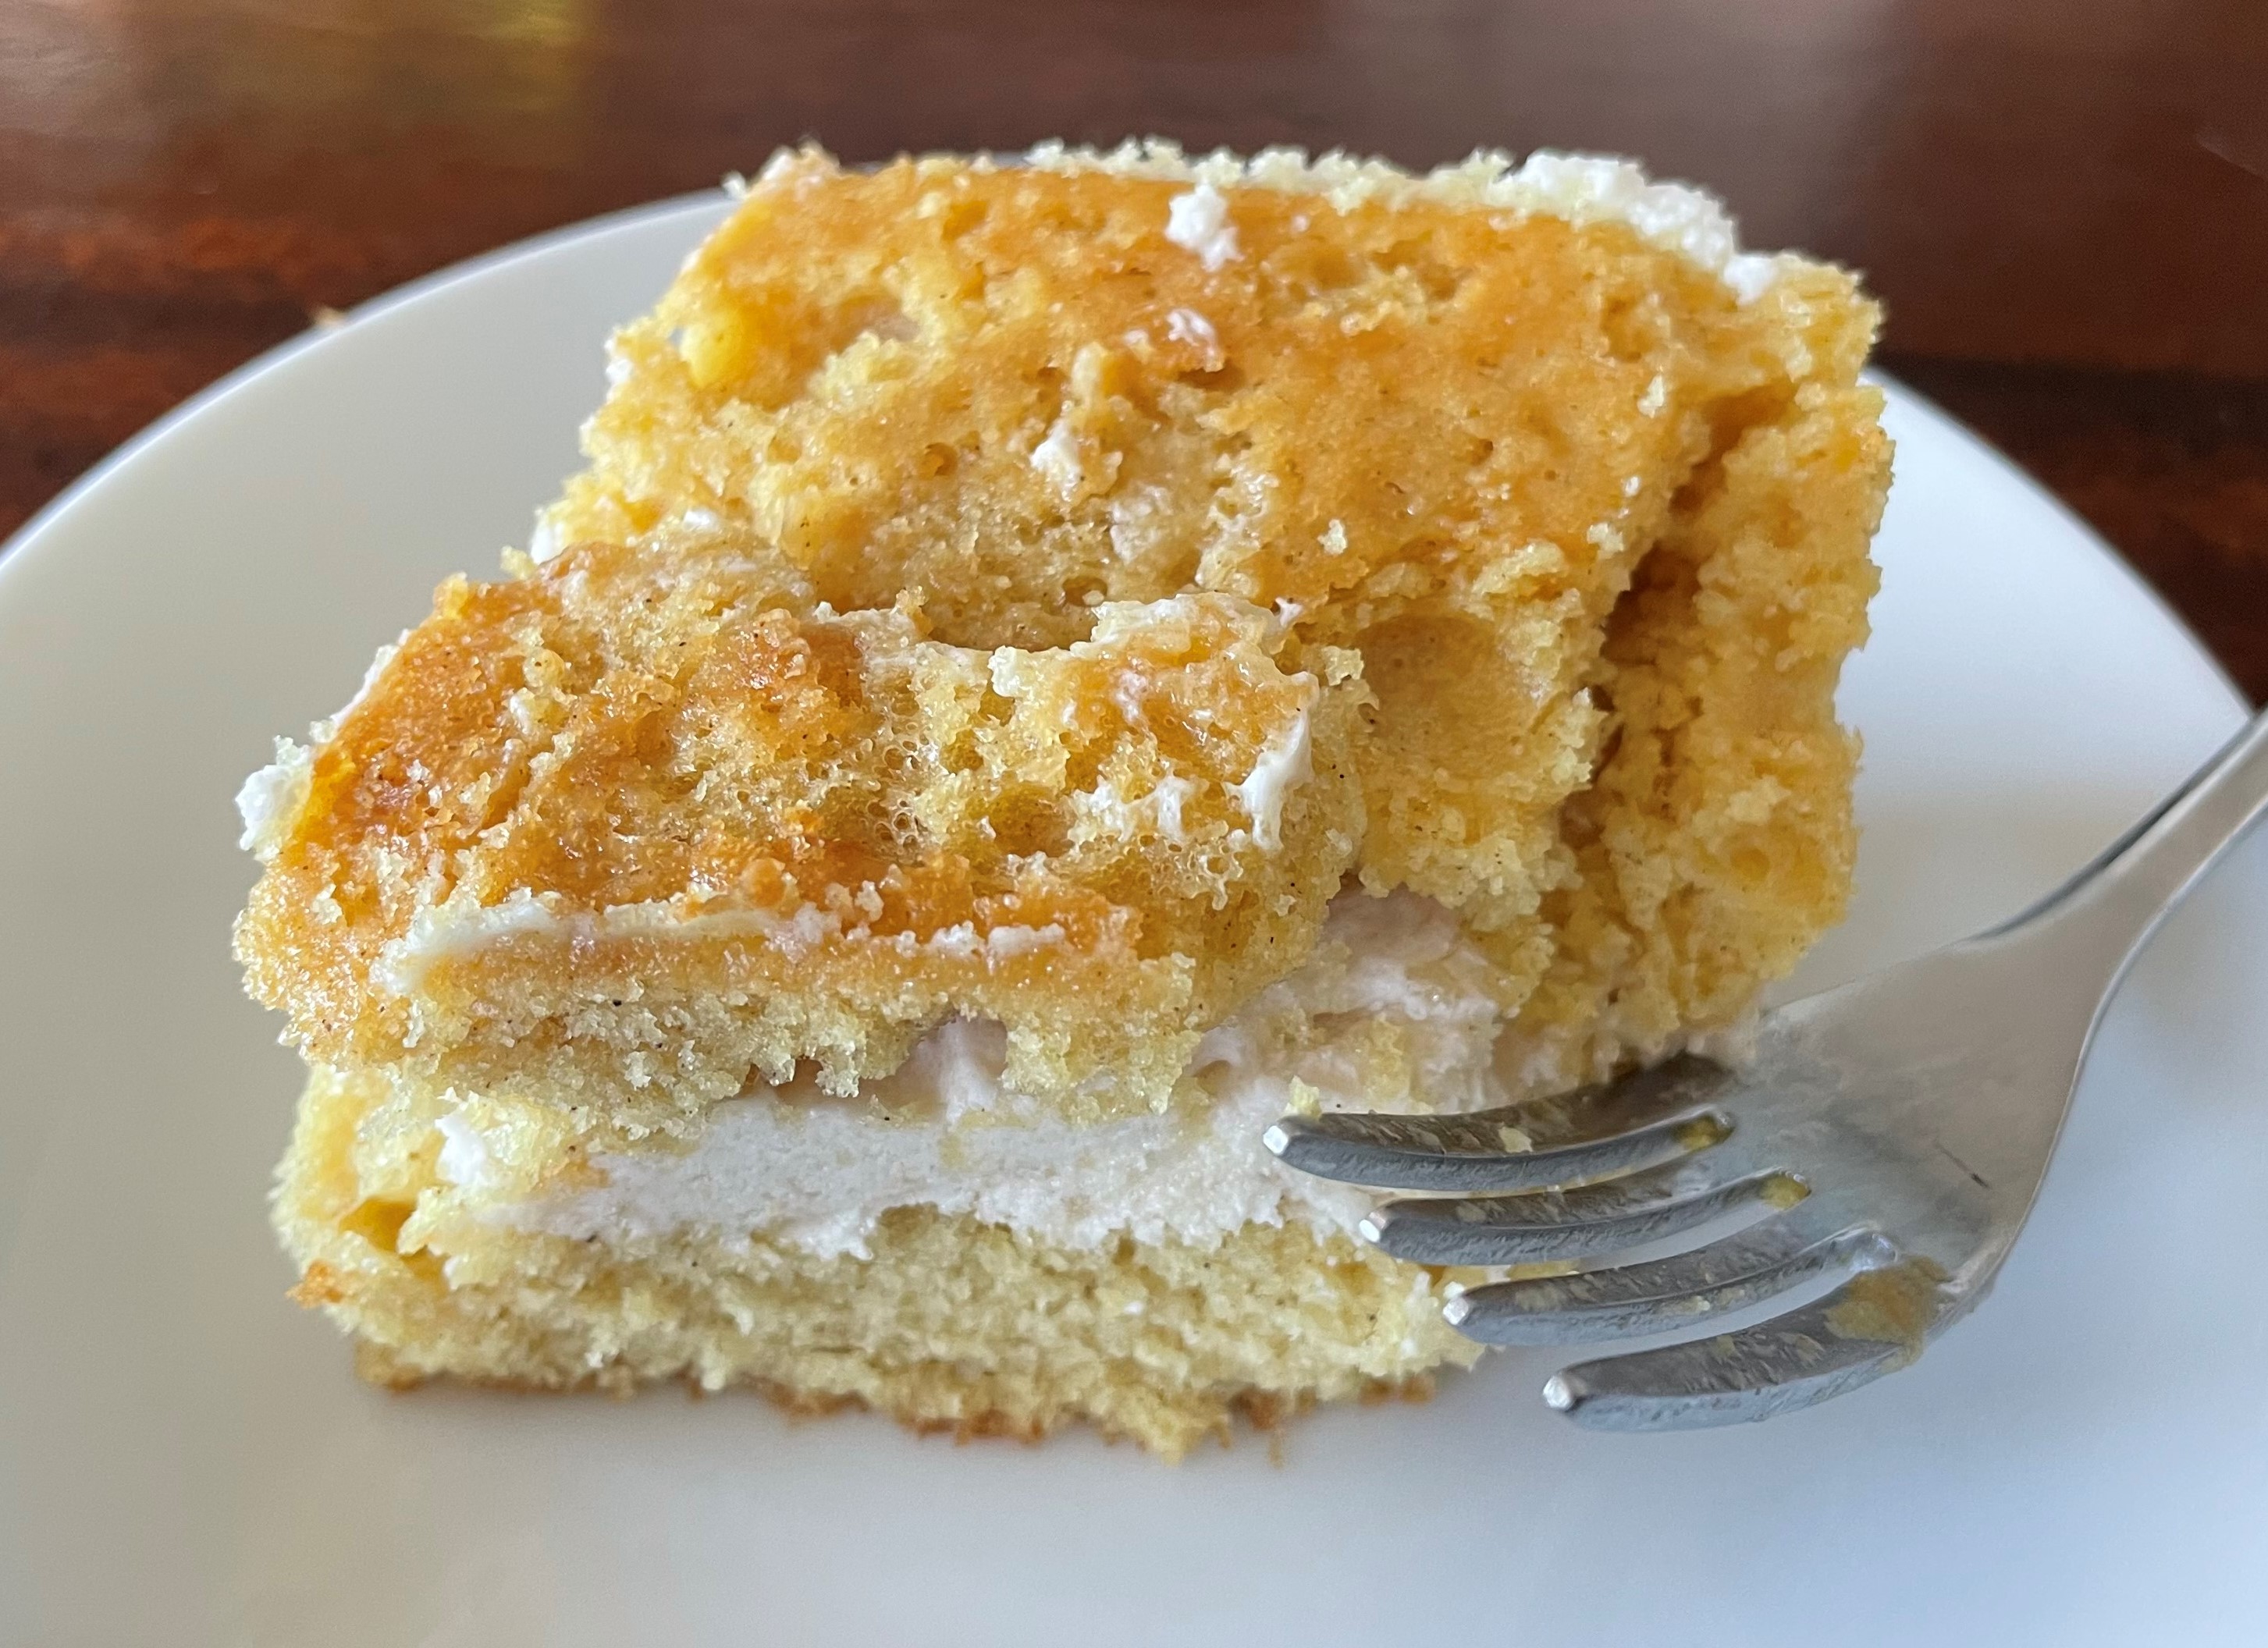
There are a couple ways to incorporate the filling into the cake. The easiest, though not necessarily the neatest (which is what I did) is to take the cake out of the baking pan, cut it in half lengthwise and then put the bottom half back into the pan. 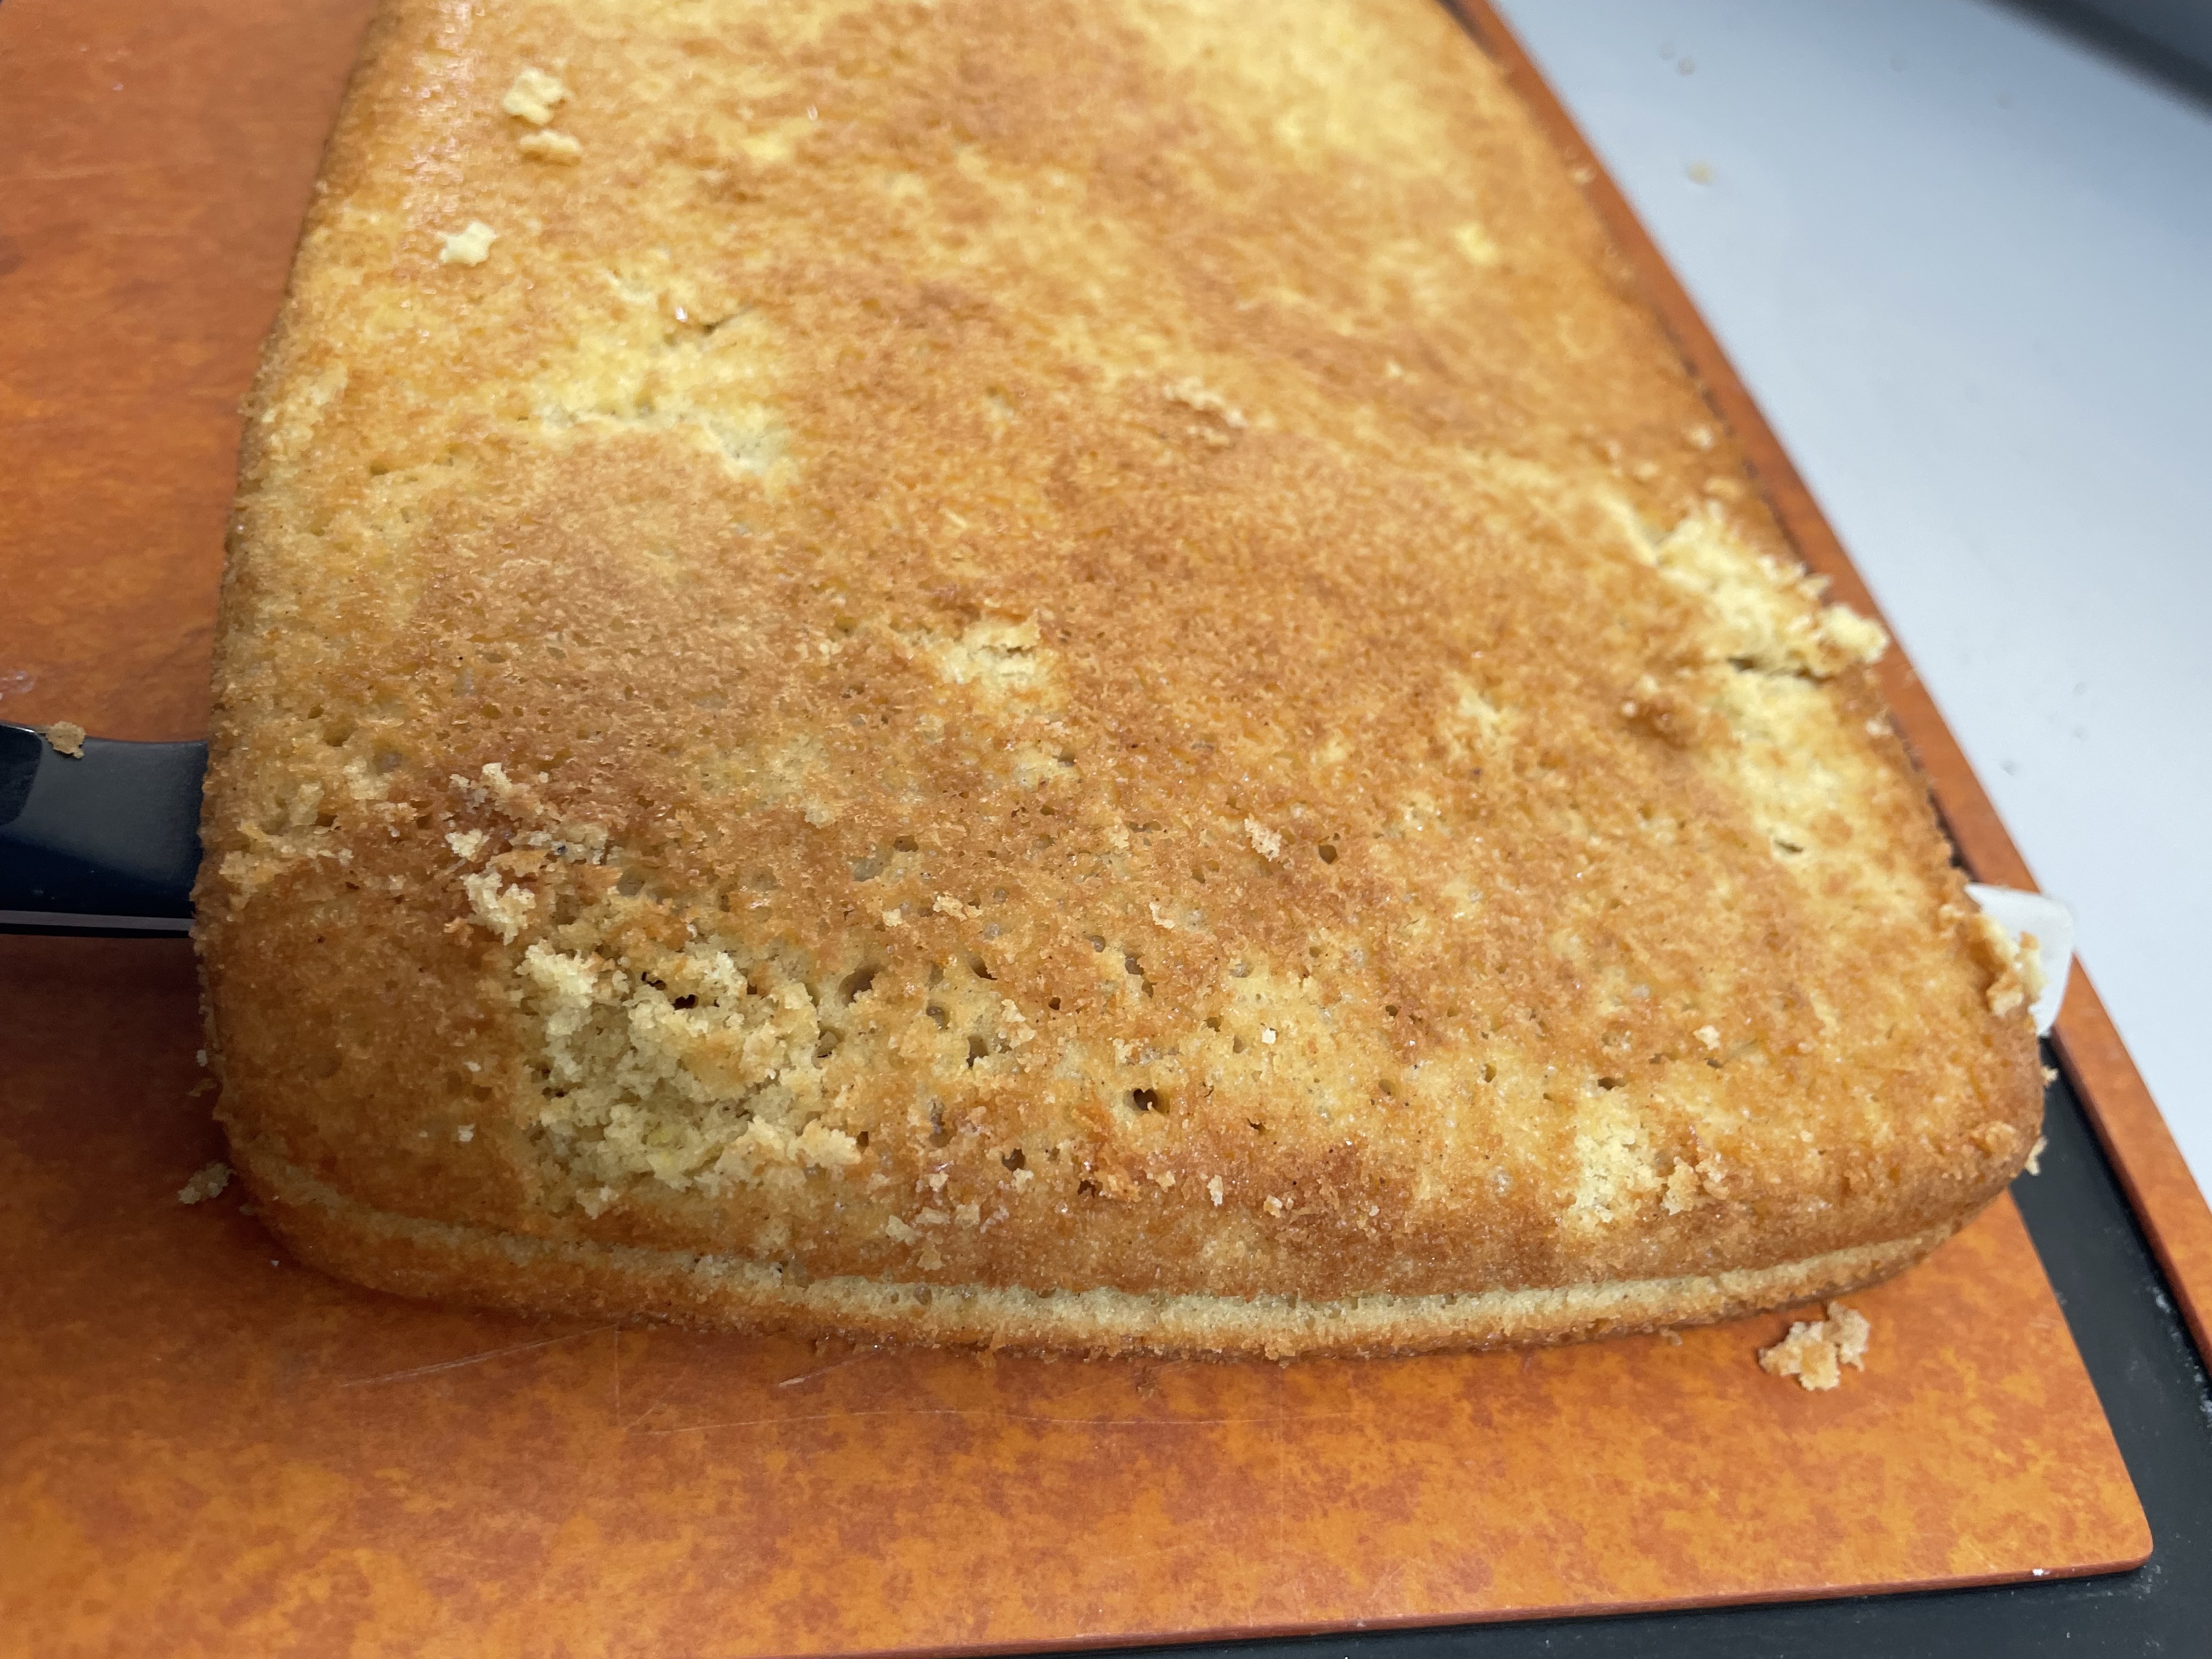
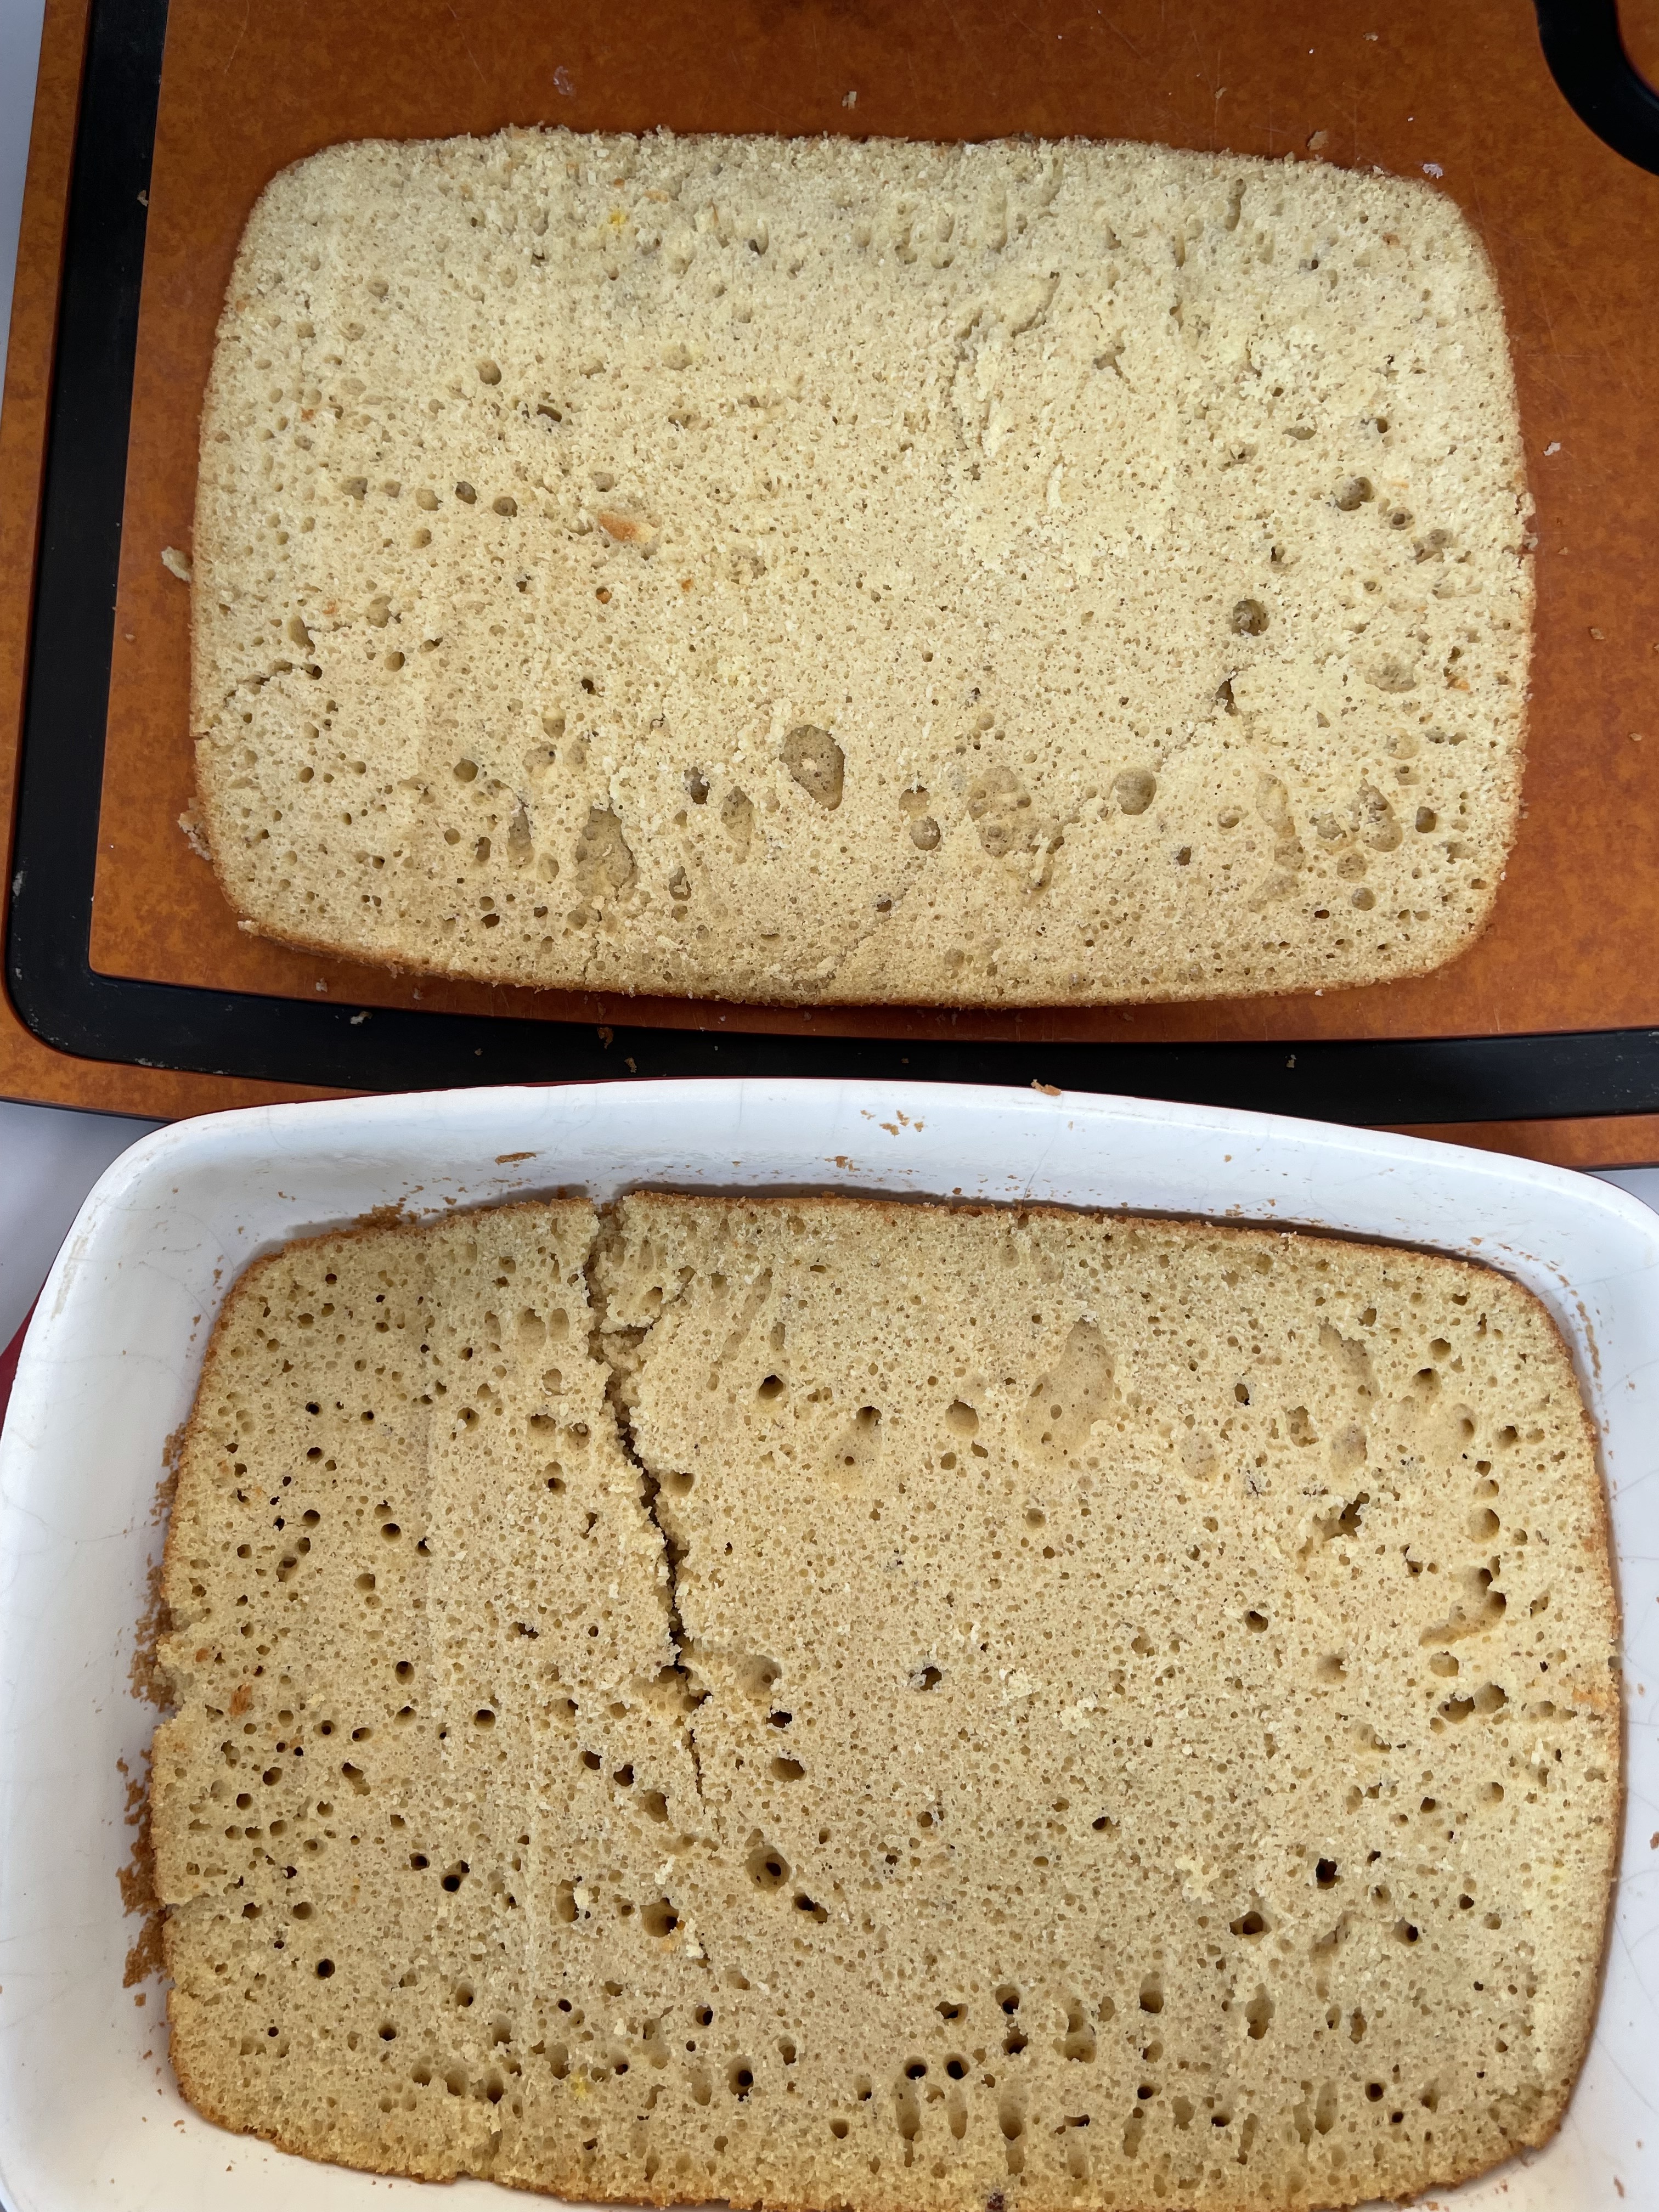 Then, take your filling and spread it evenly across the lower layer and top it with the other layer. You’re essentially just making a layer cake here. If you’re like me, one or both of the sheet cake halves will break when you’re trying to work with it. That’s fine, just puzzle it back into the baking pan. After all, this isn’t called “Ugly Desserts” for nothing.

The other way more closely approximates a real Twinkie. In this one you don’t take the cake out of the baking pan or cut it in half. Instead, take your filling and put it into a piping bag affixed with a large tip. Take the tip and force it halfway into the cake at even intervals and inject the filling into the cake. The pro to doing it this way: it will give you those little injection holes that actual Twinkies have. The con is that the filling won’t be as evenly distributed and you may get bites without filling in them. Plus, for me, I am awful at piping – it just goes all over, everything, everywhere and makes my kitchen a complete mess.
Finish by putting the powdered sugar into a sieve and spreading it over the cake. It’s not really necessary….but it’ll look nice!
Whatever way you do it, you’re going to have something delicious!